How to Cook Chicken to Shred Perfectly
There’s nothing quite like the satisfaction of pulling apart perfectly cooked chicken. The meat is tender, juicy, and ready to transform into your favorite meals. Yet, many home cooks struggle with dry, rubbery chicken that falls apart all wrong.
Learning how to cook chicken to shred changes everything. This essential skill saves you time during busy weeknights and money through smart meal planning. Shredded chicken works beautifully in tacos, salads, soups, enchiladas, and chicken pot pie. Your options are truly endless once you master the technique.
The good news is that perfectly shredded chicken recipe success depends on one simple principle: gentle, careful cooking. You don’t need fancy equipment or mysterious secrets. You need proven methods that work consistently. Within this guide, you’ll discover two powerful approaches. The stovetop simmering method delivers tender results with boneless chicken thighs. The poaching technique works wonders for chicken breasts. Both methods require under an hour of your time.
Cooking chicken for shredding is about understanding the science of heat and moisture. When you use the right temperature and liquid, your chicken stays moist and flavorful. Your family meals become easier to prepare. Your meal prep routine becomes more efficient.
Table of Contents
Why Poaching Is the Best Method for Shredded Chicken
Poaching chicken is the top choice for tender and juicy results. This method cooks your meat evenly, unlike roasting or pan-searing. You get tender chicken every time you poach.
Poaching is simple. Just cover your chicken in cold water, bring it to a boil, then turn off the heat. Let it sit for 10-12 minutes. This way, you can prepare other parts of your meal while your chicken cooks perfectly.
The Science Behind Tender, Juicy Chicken
The chicken stays moist because the cooking liquid surrounds it. The heat is gentle, preventing moisture loss. Higher heat methods like roasting dry out the meat.
Poaching cooks your chicken evenly. The water keeps the meat moist and prevents dry spots. This method protects your chicken from harsh heat.
Comparing Poaching to Other Cooking Methods
Each cooking method affects your shredded chicken differently. Here’s how poaching compares to others:
| Cooking Method | Moisture Level | Preparation Ease | Risk of Overcooking | Best Uses |
|---|---|---|---|---|
| Poaching | Very Juicy | Easy | Low | Shredded chicken, cubed chicken |
| Roasting | Can Dry Out | Moderate | High for breasts | Whole birds, crispy skin |
| Pan-Searing | Uneven Moisture | Requires attention | Very High | Quick weeknight meals |
Roasting is convenient but can dry out chicken breasts. Pan-searing is fast but uneven. Poaching is the best for tender, juicy chicken. It’s easy and keeps the meat moist.
“The key to perfect shredded chicken is using a method that respects the delicate protein structure, and poaching does exactly that.”
Choosing poaching means tender, flavorful chicken every time. Your shredded chicken will be perfect for salads, tacos, and soups.
Choosing the Right Chicken Cut for Shredding
The chicken cut you choose greatly impacts your shredding results. It affects cooking time, texture, and taste. Knowing the benefits of each cut helps you make the best choice.
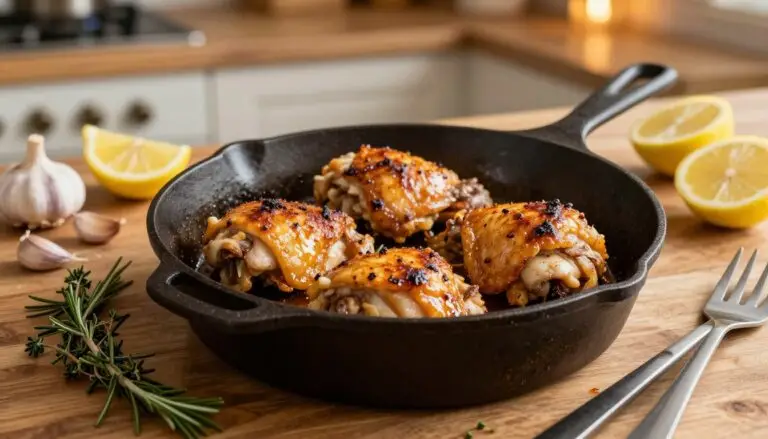
Boneless chicken thighs are a top pick for shredding. They have more fat and connective tissue than other parts. This means they can cook longer without drying out.
Their fat content keeps the meat tender and juicy. Even if you overcook them a bit, they stay flavorful. Boneless chicken thighs usually need 25 to 30 minutes to cook, depending on their size.
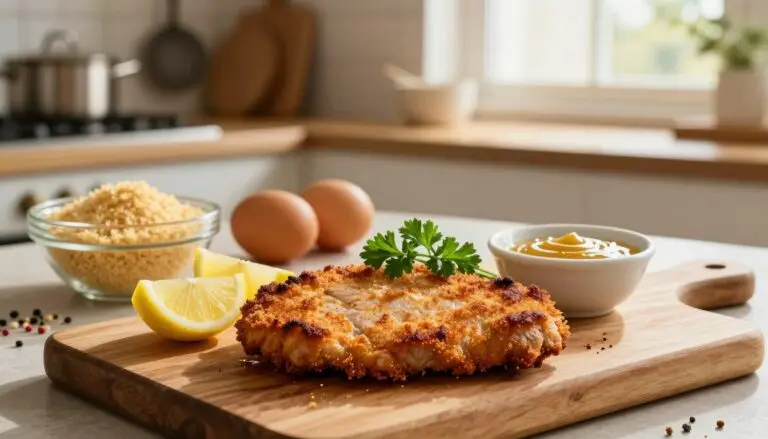
Chicken breasts are a good option if you prefer leaner meat. One pound of breasts yields about three cups of cooked chicken. They cook faster, needing only 10 to 12 minutes. But, you must watch them closely to prevent drying.
Lean meat is perfect for diets with specific goals.
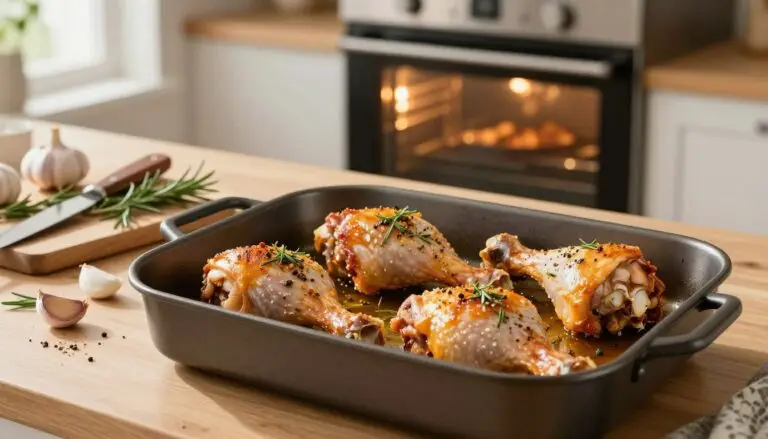
You can also use skin-on chicken thighs. Just remove the skin after cooking. You might need to skim extra fat from the cooking liquid. This option is cheaper and still tender.
- Pick boneless chicken thighs for maximum tenderness
- Choose chicken breasts for shredding if you want leaner meat
- Cook thighs for 25 to 30 minutes
- Cook breasts for 10 to 12 minutes
- Remove skin from skin-on thighs before shredding
- Skim fat from broth when using skin-on cuts
The right chicken seasoning works with any cut. Quality is key when shopping. Look for meat that’s pink, not gray. Choose packages without too much liquid. Your choice of chicken sets the stage for perfectly shredded meat.
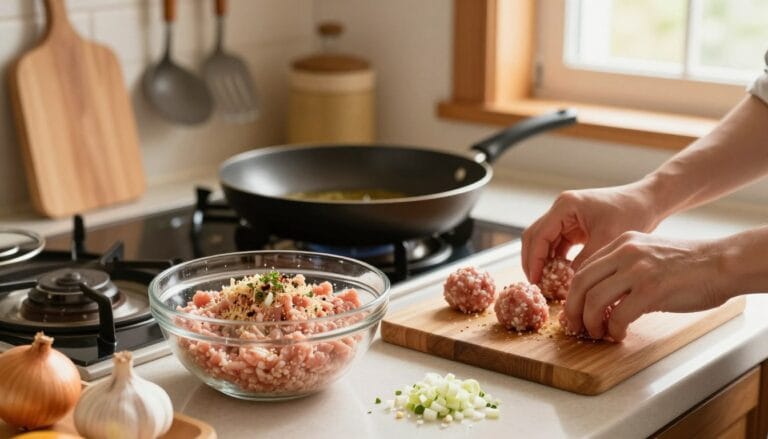
Essential Ingredients for Perfectly Cooked Shredded Chicken
Creating flavorful shredded chicken starts with the right ingredients. The choice of ingredients sets the stage for tender, tasty meat. Knowing what goes into your cooking liquid and which seasonings to use makes your chicken versatile for many dishes.
Aromatics and spices are key to your pot’s magic. They infuse the chicken as it cooks. Using quality ingredients and the right amounts ensures delicious results every time.
Aromatics That Enhance Flavor
Aromatics are the foundation of your cooking liquid. They release oils and essences that surround your chicken. Start with:
- One medium onion, peeled and sliced into rings
- Four garlic cloves, lightly crushed to release their oils
- One bay leaf for subtle earthiness
- Fresh water or chicken broth as your cooking base
Crushed garlic cloves add essential oils to the liquid. The onion brings sweetness that balances out salt and spices. The bay leaf adds an earthy flavor that enhances the taste without overpowering it.
Best Spices and Seasonings for Versatile Chicken
Creating a chicken seasoning recipe is about finding the right balance. Salt is essential for moisture retention. Start with these amounts:
| Ingredient | Amount | Purpose |
|---|---|---|
| Salt | 1 teaspoon per pound | Moisture retention and flavor enhancement |
| Ground cumin | 1½ teaspoons | Warmth and earthy depth |
| Black pepper | ½ teaspoon | Subtle heat and complexity |
| Fresh herb sprigs | 2-3 per pound | Aromatic flavor infusion |
| Dried herbs | 1 teaspoon per pound | Concentrated flavor alternative |
Understanding herb options makes your chicken seasoning recipe more flexible. Fresh thyme, oregano, rosemary, and sage are great with poached chicken. Dried herbs offer concentrated flavor when fresh herbs aren’t available.
For spicy chicken seasoning, add cayenne pepper or red pepper flakes. Start with a quarter teaspoon and adjust to your liking. This way, your shredded chicken is versatile for many cuisines and lets you add your personal touch.
How to Cook Chicken to Shred Using the Stovetop Method
Stovetop chicken cooking lets you control the texture and flavor of your shredded chicken. You can pick from two methods based on your chicken cut and cooking style. Both ways make tender, juicy chicken that shreds easily.

The simmering chicken technique is great for chicken thighs. Start by putting your thighs in a large pot with sliced onion, crushed garlic, and a bay leaf. Add your low-sodium chicken seasoning or your favorite spices. Use enough water or broth to cover the chicken, usually 4 to 6 cups.
Bring the liquid to a gentle boil over medium-high heat, then lower to a low simmer. You’ll see a few bubbles. Keep this heat for about 30 minutes. Use a meat thermometer to check the chicken’s internal temperature, which should be 165°F.
The cold-start method is best for chicken breasts. Place your raw breasts in the pot first. Cover them with cold water by 2 inches. Add salt and herbs to season the water well. Bring to a boil, then flip the chicken using tongs, cover, and turn off the heat.
Let the chicken sit for 10 to 12 minutes without opening the lid. Check one breast with a meat thermometer—it should be 165°F. If needed, cook for 2 to 3 more minutes.
After cooking, remove the chicken to a cutting board. Let it rest for 5 minutes. This step spreads juices throughout the meat, making it moist when you shred.
| Cooking Method | Best Chicken Cut | Cooking Time | Key Step |
|---|---|---|---|
| Simmering Technique | Chicken Thighs | 30 minutes | Gentle boil then reduce to low simmer |
| Cold-Start Method | Chicken Breasts | 10-12 minutes | Boil, flip, cover, turn off heat |
Both stovetop methods work well for shredded chicken. Your choice depends on whether you like thighs or breasts and how much time you have. Either way, you’ll get chicken ready to shred for your favorite recipes.
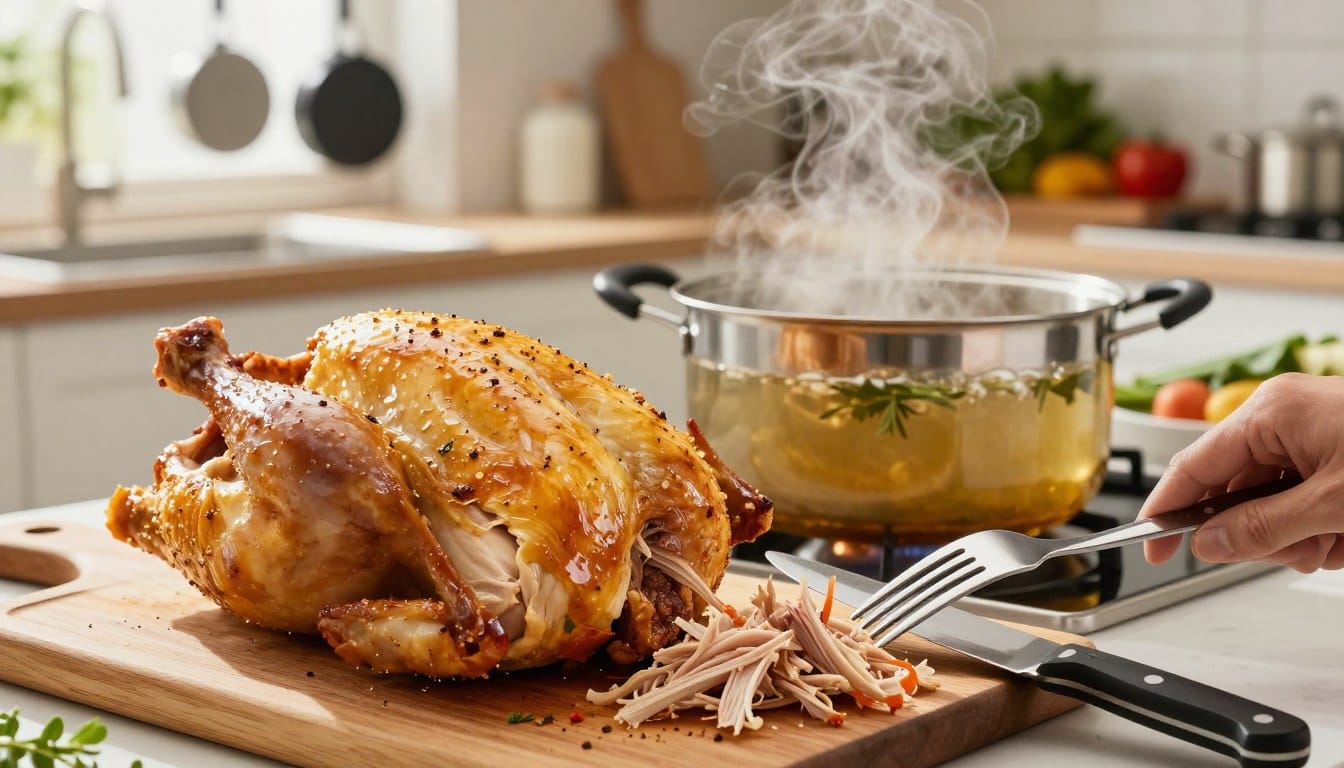
The Secret to Extra Juicy Shredded Chicken
The secret to juicy shredded chicken is simple. After cooking, don’t throw away the liquid. It’s full of flavors from your chicken seasoning, veggies, and chicken. Using this broth makes your chicken moist and delicious.
When you cook chicken, it loses moisture. To get it back, use the cooking liquid. This method makes every bite of your chicken rich and tasty.
Reducing the Cooking Liquid for Maximum Flavor
Put the cooking liquid back on the stove. Heat it up on medium-high with the lid off. As it simmers, the water evaporates, and the flavors get stronger. Keep it going for 10 to 15 minutes until it’s reduced by a third.
When it’s ready, add 2 to 4 tablespoons of the liquid to your chicken. Mix it well. This step does two things:
- It adds back moisture lost during cooking
- It makes each piece of chicken taste more intense
Don’t throw away the rest of the broth. You can freeze it, store it in the fridge, or use it as a soup base. Your chicken seasoning and veggies made something special.
Different Ways to Shred Your Cooked Chicken
After your chicken cools, you can shred it in several ways. Each method is best for different amounts and needs. Choose the one that matches your kitchen tools and needs.
Let the chicken cool for about 5 minutes before shredding. This helps avoid burns and keeps the meat moist and tender.

The Two-Fork Method
Using two forks is the traditional way to shred chicken. Place the cooled chicken on a cutting board or in a shallow bowl. Hold one fork in each hand and pull the meat apart along its grain. This method takes 3 to 5 minutes per pound and lets you control the shred size.
- Perfect for smaller batches
- Creates rustic, varied shred sizes
- Ideal for tacos and sandwiches
- Requires no special equipment
The Mixer Method for Chicken
The mixer method is great for big batches. Put cooked chicken pieces in a stand mixer bowl with the paddle attachment. Mix on low speed for 30 to 60 seconds. This shreds the chicken into fine, uniform pieces in under a minute.
- Works best with 3 or more pounds of chicken
- Creates fine, consistent texture
- Great for chicken salad and dips
- Hand mixers work similarly in a deep bowl
The Knife Method
For chunks instead of shreds, use a knife. Slice cooled chicken breasts diagonally into ½-inch thick pieces, or dice them into cubes. This method is perfect for salads where you want defined chicken pieces.
| Shredding Method | Time Required | Best For | Shred Size |
|---|---|---|---|
| Two Forks | 3-5 minutes per pound | Small batches | Rustic, varied |
| Stand Mixer | 30-60 seconds | Large batches | Fine, uniform |
| Hand Mixer | 1-2 minutes | Medium batches | Fine, uniform |
| Knife | 5-10 minutes | Salads | Sliced or diced |
Tip: If your chicken won’t shred easily, it’s likely undercooked. Return it to the pot for a few more minutes and try again.
How Much Cooked Chicken to Expect from Different Cuts
Knowing how much chicken you’ll get after cooking helps with meal planning. Chicken loses water and weight when cooked. This knowledge helps you buy just the right amount for your recipes.
Every pound of boneless chicken meat usually turns into 3 cups of shredded chicken. This is great for planning your meals. The amount you get can vary based on the cut and how much bone and skin you remove.
Yield Guide for Chicken Breasts and Thighs
Chicken breasts and thighs yield different amounts. One pound of boneless, skinless chicken breasts gives you 3 cups of shredded chicken. This is enough for 6 servings of chicken salad or 8 to 10 tacos.
Boneless, skinless chicken thighs yield about 3 cups per 2 pounds. Three pounds of boneless thighs give you 5 cups of shredded meat. This is plenty for several meals in a week.
A common 4-pound package of split chicken breasts produces about 4 cups of cooked chicken. Use this info for your chicken yield calculations when planning dinners.
| Chicken Cut | Raw Weight | Cooked Yield | Meal Prep Portions |
|---|---|---|---|
| Boneless, Skinless Chicken Breasts | 1 lb | 3 cups | 3 servings |
| Split Chicken Breasts | 4 lbs | 4 cups | 4 servings |
| Boneless, Skinless Chicken Thighs | 2 lbs | 3 cups | 3 servings |
| Boneless Chicken Thighs | 3 lbs | 5 cups | 5 servings |
| Whole Chicken | 5 lbs | 5 cups | 5 servings |
| Rotisserie Chicken | 1 chicken | 3-5 cups | 3-5 servings |
Understanding Bone-In Versus Boneless Yields
Bone-in chicken cuts have less meat than boneless ones. Two pounds of bone-in, skin-on chicken thighs yield only about 2 cups of meat. You pay for bone and skin weight that gets removed.
Boneless chicken gives you more usable meat from the same weight. This makes boneless cuts better for accurate cooking measurements for chicken and meal planning.
A 5-pound whole chicken produces about 5 cups of mixed light and dark meat. A store-bought rotisserie chicken typically yields 3 to 5 cups depending on size. Keep these chicken yield calculations in mind when choosing between whole birds and cut pieces.
- Each cup of shredded chicken equals roughly one serving
- Store cooked chicken in the refrigerator for up to 4 days
- Freeze cooked chicken for 3 months in portioned containers
- Use frozen meal prep portions for quick weekday dinners
Planning your meal prep portions becomes simple when you understand these yield numbers. Buy boneless chicken when you want maximum meat per pound. Choose bone-in chicken when you plan to make broth from the bones.
Creative Ways to Use Your Perfectly Shredded Chicken
Your perfectly cooked shredded chicken opens up a world of delicious meal ideas. It’s great for any day of the week. You can turn it into countless dishes without spending hours cooking. Keep your seasoning simple during cooking, so you can easily change the chicken’s flavor.
Start with classic shredded chicken recipes that never disappoint. Chicken salad is a versatile favorite you can customize. You can make it with mayonnaise for a traditional taste, add hot sauce and jalapeños for spice, or use Greek yogurt and cottage cheese for a lighter version. Serve it over fresh greens, on crackers, or in a sandwich for an easy lunch.
Explore warm and comforting options that come together quickly:
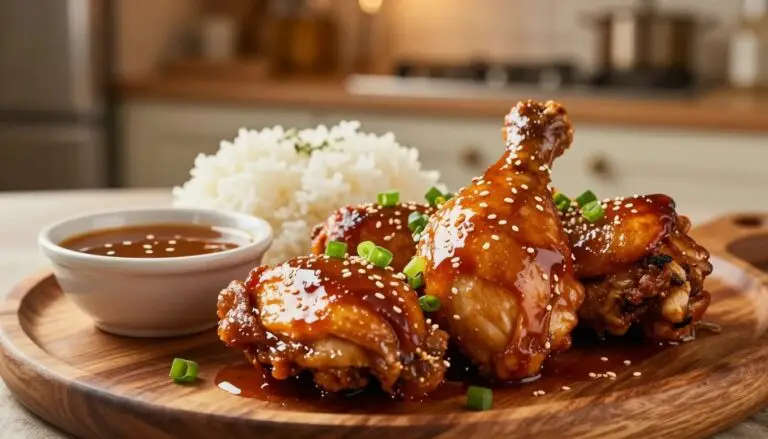
- Tacos seasoned with cumin and chili powder, served in corn tortillas with salsa and avocado
- Soups like chicken noodle, tortilla soup, or creamy chicken and wild rice
- Chicken pot pie with vegetables and flaky crust
- Green chicken enchiladas topped with tomatillo sauce and cheese
- Quesadillas and burritos filled with your shredded chicken
- Pasta dishes and pizza toppings
- Stuffed peppers and chicken dip for gatherings
For those watching their diet, gluten-free chicken seasoning is great for tacos and many soups. Your shredded chicken also works well in meal prep bowls with quinoa or rice, roasted vegetables, and your favorite sauce.
Store your shredded chicken in 1-2 cup containers in the fridge or freezer. This smart portioning makes it easy to grab what you need. It keeps your kitchen ready for any recipe you want to try.
Conclusion
You now know how to make perfect shredded chicken every time. The methods are quick, taking less than an hour. You can choose between chicken breasts or thighs, depending on your preference. Both options are tender and juicy, especially when cooked gently.
The main steps for cooking chicken are simple. Start by seasoning the water with spices and herbs. Use low heat to keep the meat moist. Then, reduce the liquid and spoon the flavorful broth over the chicken. These steps make ordinary chicken into a delicious meal.
Meal prep chicken tips make dinner easy. Cook a batch and freeze it for later. You can use the chicken in tacos, salads, soups, or grain bowls. Experiment with different spices to create new flavors.
Begin cooking your first batch today. Choose your favorite method and follow the cooking times. Let the chicken rest before serving. Store it in the freezer for future meals. Now, you have perfect shredded chicken ready whenever you need it.