Pork Shoulder Pellet Grill: How to Smoke Tender Pulled Pork
Opening your pellet grill for the first time is magical. The smoke and smell of a pork shoulder tell you something special is happening. When your family enjoys tender, juicy pulled pork you smoked, it’s pure joy. This guide will help you create those moments.
Smoking pulled pork on a pellet grill is easier than you think. You don’t need years of experience or fancy equipment. What you need is the right knowledge and a commitment to following proven steps. This pulled pork recipe smoker guide walks you through everything from start to finish.
Your pellet grill offers something special that other cooking methods can’t match. It gives you consistent heat while filling your meat with authentic wood-fired flavor. Temperature stays steady throughout your cook. You won’t have to babysit the grill for hours. That’s the beauty of modern pellet grilling technology.
Whether you’re completely new to smoking meat or looking to improve your technique, this guide covers all the ground you need. You’ll learn how to pick the right cut of meat. You’ll discover the secrets to a perfect dry rub. You’ll understand the exact temperatures and timing that turn tough meat into something that falls apart with a fork.
Success with your pork shoulder pellet grill comes from understanding the fundamentals. Each step builds on the last. By the end of this guide, you’ll have the confidence to smoke pulled pork that rivals what you’d get from a professional pit master. Your backyard barbecue is about to get a whole lot better.
Table of Contents
Why Smoked Pulled Pork Is a Backyard BBQ Essential
Smoked pulled pork is a key part of American barbecue. It brings people together and tastes like a restaurant dish at home. It’s great for any size group, offering both taste and value.
The secret to smoked pulled pork is slow cooking. This method breaks down tough meat into tender, juicy pieces. It’s all about the right mix of heat, moisture, and patience.
Every region in the U.S. has its own pulled pork style. In Carolina, it’s vinegar-based sauces. Memphis likes dry rubs and light sauces. Texas barbecue is all about bold spice and smoke. Each style shows how pulled pork fits into local tastes.
Smoked pulled pork is also very practical. You can make it hours before your event and reheat it later. It’s perfect for turning into sandwiches, tacos, or salads. Using a pellet grill makes it easy to get great results, even if you’re new to smoking.
Smoking meat is more than just food; it’s about making memories. The smell of smoked meat draws people together. Your pellet grill becomes the heart of the gathering, where everyone connects.
- Feeds large groups affordably
- Develops unique bark and smoke ring
- Reheats beautifully for multiple meals
- Works with various regional sauce styles
- Creates memorable social gatherings
Learning to make smoked pulled pork is impressive. It’s a skill that will make your guests happy and eager for more. They’ll be asking when you’ll smoke pork shoulder again.
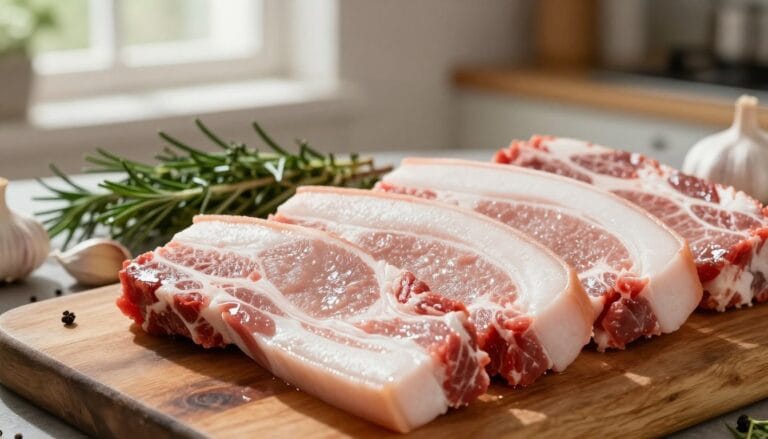
Choosing the Right Cut: Pork Shoulder vs Pork Butt
When planning to smoke pulled pork, choosing the right meat cut is crucial. Many get confused between pork shoulder and pork butt. Knowing what each offers helps pick the best for your pellet smoker or grill.
The pork shoulder is divided into two cuts by butchers. Each has its own benefits and drawbacks. This knowledge helps decide which cut is better for smoking.
Understanding Pork Shoulder Anatomy
The pork shoulder is divided into two main parts. The upper part is the Boston butt, and the lower is the picnic shoulder. These cuts come from different areas with unique bones and muscles.
- Boston butt has the blade bone and sits higher on the shoulder
- Picnic shoulder has the arm bone and sits lower on the leg
- Fat distribution differs between the two cuts
- Muscle composition varies in each section
The Boston butt has more fat marbled in the meat. The picnic shoulder has more surface fat and connective tissue. This affects how each cooks on your smoker.
Why Pork Butt Is Perfect for Smoking
The Boston butt is the better choice for smoking pulled pork. It sits at the top of the shoulder and is great for slow cooking. Using a pellet smoker for a pork butt gives consistent results.
The Boston butt cooks evenly due to its uniform thickness. It has more fat than the picnic shoulder, making it juicier and tastier.
Fat in the Boston butt renders slowly, basting the meat. This keeps your pulled pork moist and tender. A pellet grill cooks the pork butt beautifully, enhancing its flavor.
Weight and Size Considerations
Choosing the right size pork butt depends on several factors. Your guest count, smoker capacity, and cooking time are important.
| Pork Butt Weight | Serving Size | Cooking Time (Approximate) | Best For |
|---|---|---|---|
| 4-6 pounds | 8-12 people | 6-8 hours | Small gatherings and weeknight dinners |
| 7-9 pounds | 12-18 people | 9-12 hours | Medium family events and parties |
| 10+ pounds | 18+ people | 12-15 hours | Large celebrations and catering |
Bone-in butts weigh more but add flavor and structure. Boneless options cook faster and offer more meat. Think about your smoker’s space when deciding.
A typical bone-in pork butt weighs 5 to 10 pounds. Boneless ones are 4 to 8 pounds. Larger butts are good for big crowds, while smaller ones are better for small gatherings.
Essential Equipment for Smoking Pulled Pork
To start smoking pulled pork, you need more than just a grill. You’ll need the right tools for a smooth experience. Many items you likely already have can help you succeed. This ensures your pork is always tender, juicy, and delicious.
Your pellet grill is the base of your setup. Brands like Traeger, Pit Boss, and Camp Chef offer great options. These grills keep a steady temperature and add a smoky flavor that makes your meat special. You’ll also need some tools to make the process easier and more successful.
Core Tools You’ll Need
A reliable meat thermometer is your best friend for smoking. Choose a dual-probe digital model to track your meat’s temperature and the grill’s heat. This helps you avoid guessing about when your meat is done. Heavy-duty aluminum foil or butcher paper wraps your pork during cooking. Quality heat-resistant gloves protect your hands from burns when handling hot meat.
- Dual-probe digital meat thermometer
- Heavy-duty aluminum foil or butcher paper
- Heat-resistant silicone or leather gloves
- Premium wood pellets (hickory, apple, cherry, or oak)
- Spray bottle for spritzing
- Drip pan for catching renderings
- Meat claws or forks for pulling
- Cooler for resting finished pork
- Sharp knife and cutting board
Wood Pellets and Smoke Flavor
The pellets you choose affect your pork’s flavor. Hickory gives a strong, bold taste. Apple wood adds sweetness and mild smoke. Cherry brings a fruity note and red color. Oak offers a balanced, medium smoke that complements your pork. Most smokers keep several types to try different flavors.
Additional Helpful Tools
A spray bottle filled with apple juice or broth keeps your meat moist. A drip pan catches the tasty drippings and protects your grill. Meat claws or forks make pulling your pork easier. A sturdy cooler is perfect for resting your meat before serving.
| Equipment Item | Purpose | Essential or Optional | Cost Range |
|---|---|---|---|
| Meat Thermometer (Dual-Probe) | Monitor internal meat temperature and grill heat simultaneously | Essential | $25-$50 |
| Butcher Paper or Foil | Wrap pork during cooking to manage the stall | Essential | $5-$15 |
| Heat-Resistant Gloves | Handle hot meat safely without burns | Essential | $15-$30 |
| Premium Wood Pellets | Create smoke flavor and color | Essential | $15-$25 per bag |
| Spray Bottle | Keep meat moist during smoking process | Optional | $3-$8 |
| Drip Pan | Catch renderings and protect grill interior | Optional | $10-$20 |
| Meat Claws or Forks | Shred finished pork efficiently | Optional | $10-$25 |
| Cooler for Resting | Keep finished pork warm during rest period | Helpful | $20-$50 |
Many kitchen items can double as smoking tools. A sharp knife and cutting board help prepare your pork. While you can use regular utensils for pulling, dedicated meat claws make it faster and easier. With these tools ready, you’ll be confident in smoking your traeger pork shoulder and achieving great results in your backyard.
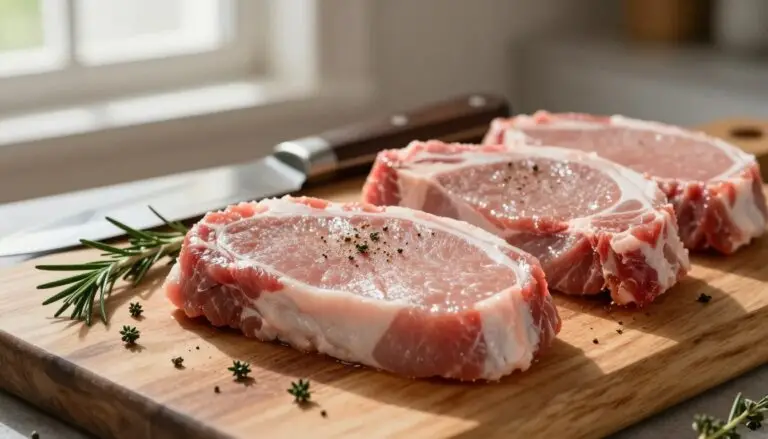
Preparing Your Pork Shoulder for the Smoker
Getting your pork shoulder ready is key to making delicious pellet grill pork shoulder. The prep work before smoking can turn good pulled pork into great pulled pork. Here are three important steps to help you succeed.
Trimming Excess Fat
Your pork shoulder has a fat cap that protects it during cooking. Not all fat is bad. Finding the right balance between flavor and smoke is important.
Look for these fat issues when preparing your pork shoulder:
- Fat caps thicker than one-quarter inch should be trimmed
- Hard, waxy fat should be removed entirely
- Silverskin (the thin, silvery membrane) blocks smoke and seasoning
- Leave thin fat layers for moisture during the smoke
Trim your pork shoulder with a sharp boning knife. Remove the thick, hard fat on top while keeping thinner fat layers intact. This fat will render down and baste your meat from the inside out.

Applying the Perfect Dry Rub
A great dry rub builds flavor layers on your pulled pork. Your rub should combine sweet, savory, and spicy elements.
Classic dry rub ingredients include:
- Brown sugar – creates bark and adds sweetness
- Paprika – adds color and mild flavor
- Black pepper – provides bite and depth
- Garlic powder – adds savory notes
- Onion powder – enhances overall flavor
- Cayenne pepper – brings heat (use sparingly)
Apply your dry rub generously across all sides of your pork shoulder. Some pitmasters use a thin layer of yellow mustard as a binder first. This helps the rub stick and adds tanginess. You can apply your rub right before smoking or let it sit overnight in your refrigerator for deeper seasoning.
Should You Inject Your Pork Shoulder
Injecting your pork shoulder is optional. Some barbecue experts use injections to add moisture and flavor deep inside the meat. Others skip this step and rely on the meat’s natural juices and your dry rub.
Consider these injection facts:
| Injection Method | Best For | Pros | Cons |
|---|---|---|---|
| Apple Juice Injection | Adding moisture and sweetness | Keeps interior juicy, simple ingredients | Can dilute bark formation on surface |
| Broth-Based Injection | Deep savory flavor | Adds protein-rich flavor throughout meat | Requires more preparation and planning |
| No Injection | Traditional smoking methods | Simpler process, stronger bark development | Requires careful monitoring to prevent drying |
If you decide to inject, use a meat injector to distribute liquid evenly throughout your pork shoulder. Inject about one hour before placing it on your pellet grill. Space injections several inches apart to cover the entire shoulder. Your pellet grill pork shoulder recipe doesn’t require injections, but they can add an extra layer of moisture to your final product.
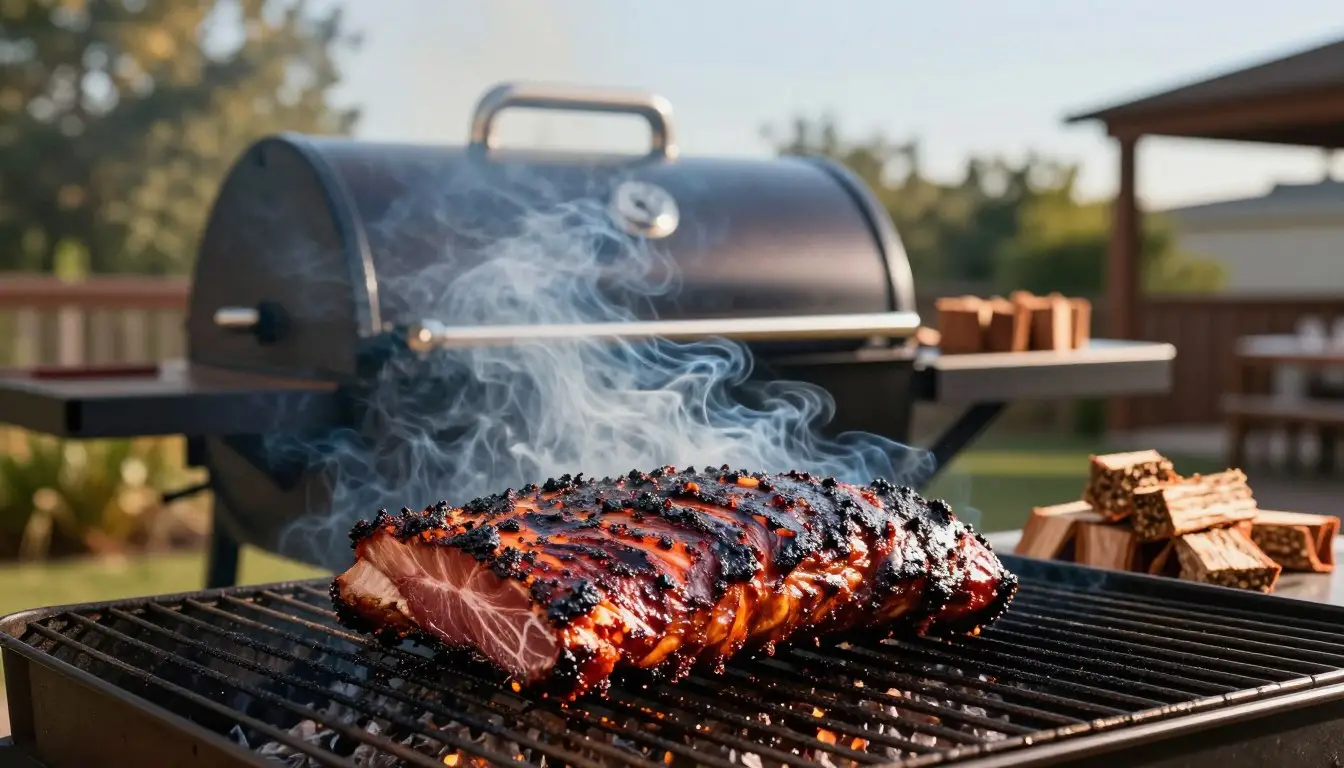
Setting Up Your Pork Shoulder Pellet Grill
Getting your pellet grill ready is the first step to smoking delicious pulled pork. Before placing your pork shoulder, prepare your equipment. Clean out any ash and clear the firepot for better combustion and temperature control.
To start, fill your hopper with quality wood pellets. Most cooks use 1 to 2 pounds per hour, depending on temperature and weather. Make sure you have enough pellets before starting.
Proper preheating is key. Set your target temperature and wait 10 to 15 minutes for your grill to stabilize. This ensures clean, thin smoke rather than thick white smoke.
Before cooking, consider these setup decisions:
- Decide whether to use a water pan for moisture retention
- Position your drip tray to catch meat renderings
- Choose between placing meat directly on grates or using a rack
- Determine if you’ll position your pork shoulder fat-side up or down
Environmental factors matter when smoking your pork shoulder. Check wind direction and temperature changes. Be ready to adjust your grill settings based on weather.
Pellet grills smoke differently than traditional smokers. Understanding these differences is crucial for better results. Take time to get familiar with your grill’s heat source and smoke patterns.
The Smoking Process: Temperature and Timing
Getting the right temperature for pork shoulder on a pellet grill is key to success. The perfect temperature and timing make your pulled pork tender and flavorful. Your pellet grill lets you control everything, so knowing these basics is crucial.
Ideal Smoking Temperature Range
The best temperature for smoking pork shoulder is between 225°F and 250°F. At 225°F, you get the classic “low and slow” method. This temperature helps fat melt slowly and smoke penetrate the meat deeply.
Temperatures under 225°F take too long and might not break down collagen well. Temperatures over 275°F cook too fast, preventing good smoke flavor. The 250°F range is perfect for home cooks, offering great flavor and faster cooking.

- 225°F: Deep smoke flavor, better bark, longer cook time
- 250°F: Balanced flavor, faster cooking, great for home cooks
- Above 275°F: Quick cooking, less smoke penetration, thinner bark
Calculating Cooking Time Per Pound
Plan for 1.5 to 2 hours per pound at 225°F. An 8-pound pork shoulder takes 12 to 16 hours. Starting at 225°F means you’ll have pulled pork ready by morning.
At 250°F, cooking time drops to 1.25 to 1.75 hours per pound. Remember, these are just estimates. Your actual cooking time will depend on several factors:
- Starting meat temperature (cold meat cooks slower)
- Grill temperature stability (wind and weather affect results)
- Individual pork shoulder characteristics (dense meat cooks slower)
- Grill placement and exposure to elements
Always check the meat’s internal temperature, not just the time. Your meat will tell you when it’s done, not the clock.
Managing the Stall and Wrapping Techniques
When you smoke a pork shoulder on a pellet grill, you might hit a snag called “the stall.” This is when your meat’s internal temperature stays between 150-170°F for hours. It’s normal and doesn’t mean anything went wrong.
The stall occurs because moisture evaporates from your meat’s surface. It’s like sweating on a hot day. This cooling effect keeps the temperature steady, even when your grill is hot. The stall is a sign that your smoke is working well and your bark is getting crispy.
- Wait it out and let nature run its course
- Increase your grill temperature slightly to push through faster
- Use the Texas Crutch wrapping method to speed things up
Wrapping your smoked pork shoulder on pellet grill is a top choice. You can use two materials, each with its own perks:
| Wrapping Material | Best For | Results |
|---|---|---|
| Heavy-Duty Aluminum Foil | Fastest stall breakthrough | Tender meat, less bark texture |
| Butcher Paper | Balanced approach | Better bark retention, good tenderness |
Wrap your pork shoulder when it hits about 165°F. Use liquids like apple juice, butter, or brown sugar inside for extra moisture and taste. Make sure the wrap is tight to keep steam in.
This method cuts down stall time by 1-2 hours. It keeps your meat juicy and full of flavor during the last stages of cooking.
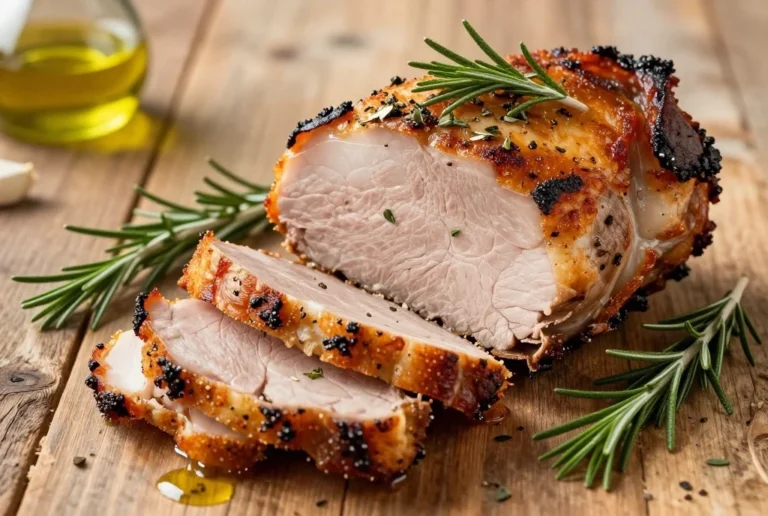
How to Know When Your Pulled Pork Is Done
Knowing when your pulled pork is done is key to being a backyard expert. It’s not just about reaching a certain temperature. The meat should be so tender you can pull it apart with your fingers. Here are three ways to check if your smoked pork shoulder is ready.
Internal Temperature Guidelines
Pulled pork needs to be hotter than basic pork. Aim for 195 to 205°F inside. Many pit masters say 203°F is the perfect spot for both texture and taste.
High heat is important. It breaks down collagen into gelatin and renders fat completely. Different parts of the pork shoulder may take longer to cook because of thickness and bone location.
The Probe Test for Tenderness
Temperature is just part of the story. The probe test is what pit masters rely on most. Stick a temperature probe or metal skewer into the thickest part of the meat. It should slide in and out easily, like warm butter.
- No firmness or pushback means it’s ready
- Tender meat feels soft to the touch
- This test is better than temperature for checking texture
Visual Cues of Perfectly Smoked Pork
Your eyes can also tell you a lot about your pulled pork. Look for these signs:
| Visual Sign | What It Means |
|---|---|
| Bone Protrusion | Bones pull away from meat by ½ inch or more |
| Meat Shrinkage | Pork shoulder reduces by 30-40% in size |
| Deep Bark Color | Dark mahogany or nearly black exterior develops |
| Meat Separation | Flesh pulls back from bone at multiple points |
Use these visual cues along with temperature and probe tests for sureness. Your pulled pork pellet grill will thank you with tender, delicious results.
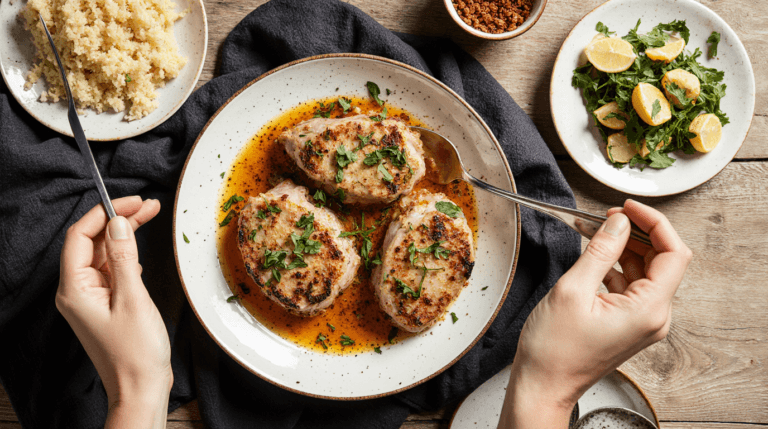
Resting, Pulling, and Serving Your Smoked Pork Shoulder
When your smoked pork shoulder hits the perfect internal temperature, your job is just starting. Resting your meat is crucial. It lets the juices spread evenly through the meat.
Wrap your pork shoulder in foil and towels, then put it in an empty cooler. This method keeps your meat hot and safe for hours. The heat breaks down collagen, making your pulled pork tender.
When it’s time to pull, use heat-resistant gloves or meat claws. The bone should come out easily after proper smoking. Remove any big fat deposits or tough tissue.
You can choose how you want your pulled pork:
- Pulling makes longer, more distinct strands
- Chopping gives a finer, more uniform texture
Mix the flavorful bark pieces into your pulled pork, or serve them on the side. If it’s dry, add some drippings back. Serve your pulled pork at 140-160°F for the best taste and juiciness.
Sauce Pairings and Serving Suggestions
Your smoked pulled pork needs the right finishing touches. The sauce and sides you choose can make your barbecue unforgettable. Well-smoked pork is tender and flavorful on its own. A good sauce enhances it without overpowering it.
Classic BBQ Sauce Styles
Different regions in America have their own sauce traditions. Each style adds its own flavor to your meal.
- Eastern Carolina Vinegar-Based – Thin and tangy, perfect for rich pork fat.
- Western Carolina or Lexington-Style – Slightly sweeter and thicker, thanks to ketchup.
- South Carolina Mustard-Based – Unique tangy-sweet flavor from yellow mustard.
- Kansas City-Style – Thick, sweet, and tomato-based, with deep flavors.
- Alabama White Sauce – Gaining popularity, a mayonnaise-based option.
Side Dishes That Complement Pulled Pork
Complete your barbecue meal with these classic sides. They balance and enhance your smoked pork.
| Side Dish | Why It Works |
|---|---|
| Creamy Coleslaw | Provides cool, crunchy contrast to warm, rich pork |
| Baked Beans | Offers sweet and savory notes that complement smoke flavors |
| Cornbread | Adds textural variety and soaks up delicious juices |
| Mac and Cheese | Brings comfort food appeal and creamy richness |
| Pickles or Pickled Vegetables | Provides acidity to balance the meat’s richness |
| Collard Greens | Adds earthy flavor and nutritious balance |
Serve your pulled pork on traditional sandwich buns or as a platter. Your choice depends on your guests’ preferences and the occasion.
Conclusion
You now have all the tools to make amazing pulled pork on your pellet grill. The main steps are simple. First, choose a quality pork butt. Then, prepare it with a great dry rub.
Keep your temperature steady and cook until the meat is tender. Your pellet grill makes temperature control easy. This lets you enjoy the process more.
Smoking pork shoulder takes time, but it’s forgiving for beginners. You don’t need fancy equipment or years of experience to get great results. Start by following the basics in this guide.
Once you feel confident, try different rubs, wood types, and wrapping methods. Find what tastes best to you. Your personal preferences will shape your style as a pitmaster.
Remember, smoking meat is about more than just cooking. It’s a chance to slow down and enjoy the low-and-slow method with people you care about. The tender, smoky pulled pork you create will become a dish your friends and family ask for again and again.
That request is worth every bit of time and effort you put in. Start your next cook using what you’ve learned here. You’re ready to make pulled pork that will impress everyone at your table.
The journey to becoming skilled at smoking begins with one cook at a time.