The Perfect Dry Aged Prime Standing Rib Roast
01 Short Answer: What Makes This Roast Different
A dry aged prime standing rib roast is one of the most impressive cuts you can serve at a table. The dry aging process concentrates the beef’s natural flavor, tenderizes the muscle, and produces a depth of taste that regular prime rib simply cannot match. The standing rib presentation — bone-in, roasted upright — adds both drama and practical benefit, since the bones protect the underside of the meat during roasting.
The best method for this cut is the reverse sear: a long, low roast followed by a brief, intense blast of heat at the end. This approach gives you precise control over the interior temperature and guarantees the kind of deeply browned crust that makes this roast worth every minute of preparation time.
If you enjoy exploring different beef cuts and techniques, see our guide on how long to cook steak on the grill and the in-depth article on beef shank with bone for more bone-in beef technique.
02 At a Glance
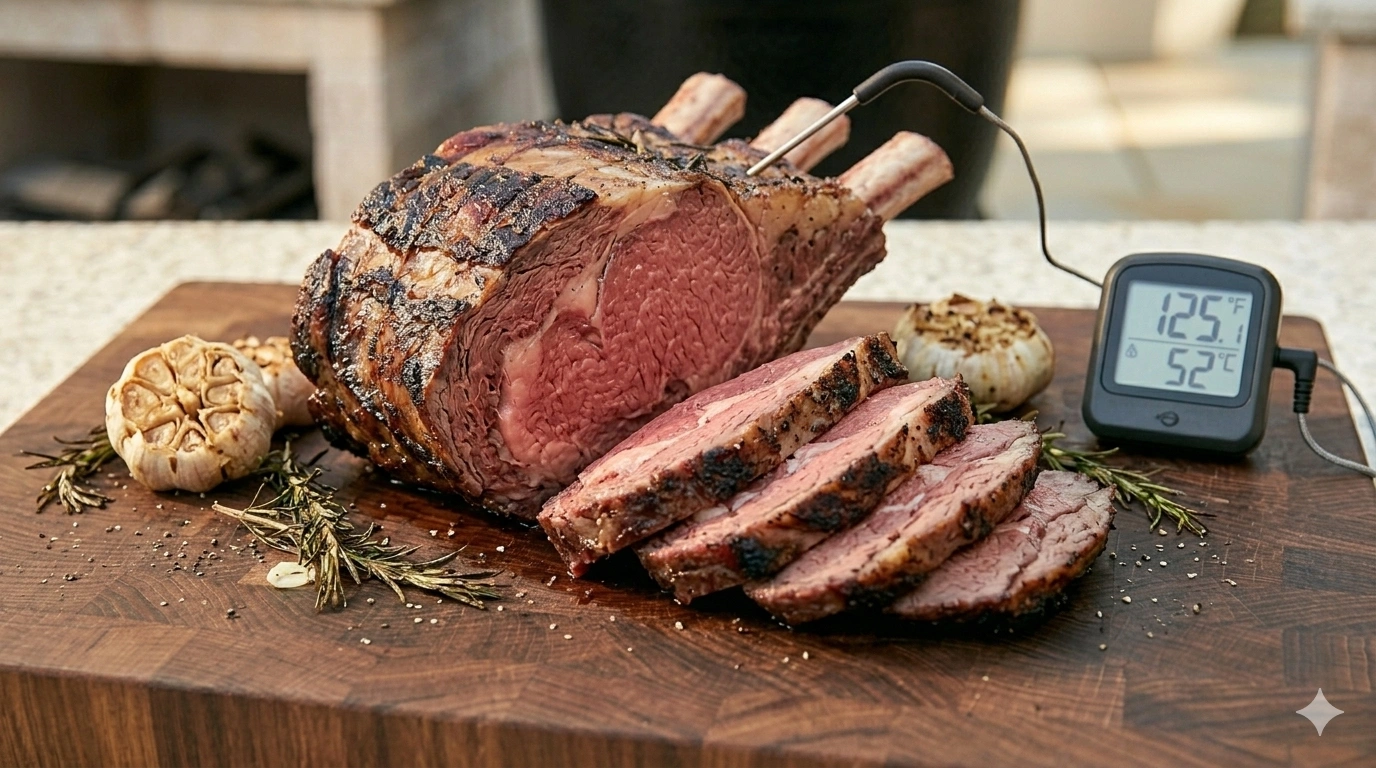
The roast continues to cook during the rest period and the final sear. Pulling at 118°F gives you a finished temperature of approximately 130 to 132°F — the ideal medium rare window for standing rib roast.
03 What Dry Aging Does to a Rib Roast
Understanding how to dry age a rib roast — or why it matters — starts with what actually happens during the process. Dry aging is not simply dehydration. It is a controlled transformation that affects both flavor and texture in ways that wet aging in vacuum packaging cannot replicate.
As the surface moisture evaporates over 21 to 45 days, the remaining beef becomes denser. The flavor does not just stay the same — it intensifies into something noticeably deeper, nuttier, and more complex.
Natural enzymes in the meat break down the muscle fiber over time. The result is a texture that is noticeably more tender than a fresh-cut roast of identical grade, even before any cooking begins.
The outer layer dries into a firm pellicle during aging. This gets trimmed before cooking, revealing the intensely flavored meat underneath. This trim loss is part of why dry aged beef costs more per pound.
A 21-day dry aged roast tastes noticeably richer than fresh beef. At 45 days, the flavor becomes more pronounced with a buttery, mineral edge. Beyond that point, the flavor becomes very assertive — better suited to experienced palates.
Most home cooks buy a pre-aged roast from a quality butcher rather than aging at home, which requires a dedicated refrigerator, consistent airflow, and careful temperature management. Either way, the cooking method is the same.
04 Choosing the Right Standing Rib Roast
Not every rib roast is the same. The label, the number of ribs, and the grade all affect both the experience and the final result.
▸ How Many Ribs?
A 2-rib roast serves 4 people comfortably. A 3-rib roast — the most practical size for a dinner party — serves 6 to 8. A full 7-rib roast can serve up to 14 but requires significant oven space and a longer cook time.
▸ Prime vs Choice Grade
USDA Prime has more marbling and is the natural match for dry aging. USDA Choice is a step down in fat content but still produces excellent results. For more on the distinction, the USDA Prime vs Choice vs Select guide is the most reliable reference.
▸ First Cut vs Second Cut
The first cut (ribs 10 to 12, near the loin) is leaner with a more uniform shape. The second cut (ribs 6 to 9, near the chuck) has more fat and a larger eye muscle. Both work well — the second cut tends to be juicier because of the fat distribution.
Dry Aged Prime Standing Rib Roast — Master Recipe
This is a practical reverse-sear method for a dry aged prime standing rib roast. It starts with a 24-hour dry brine, uses a low oven for the main cook, and finishes with a high-heat sear for a deeply browned crust and a perfectly rosy interior.
05 Ingredients
06 Step-by-Step Instructions
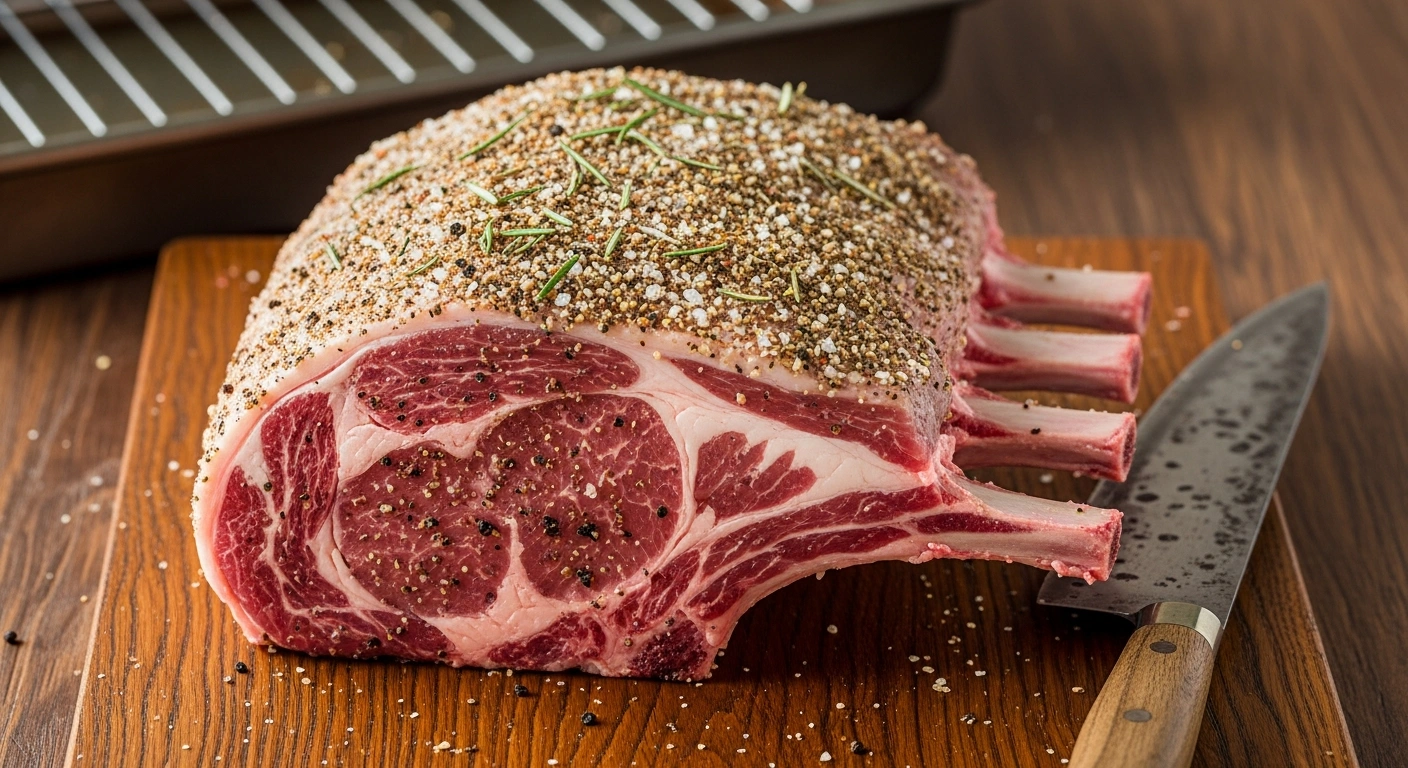
Season and Dry Brine
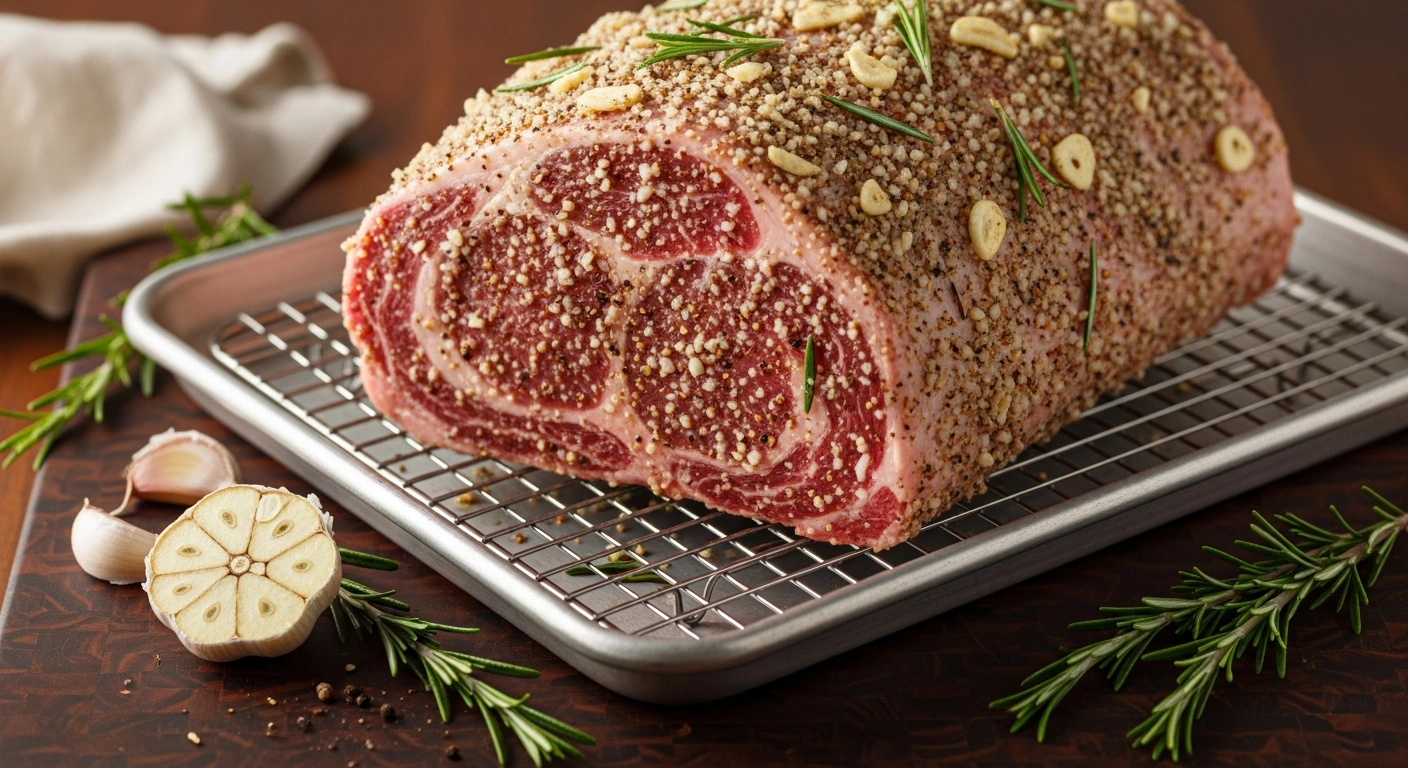
Pat the roast completely dry with paper towels. Mix together the kosher salt, cracked pepper, garlic powder, rosemary, and thyme. Coat the entire surface of the roast — top, sides, and around the bones — pressing the seasoning in firmly.
Place the roast uncovered on a wire rack set over a rimmed baking sheet. Refrigerate for at least 24 hours, up to 48 hours. The dry brine seasons the meat deeply and helps the surface dry out for better browning later.
Bring to Room Temperature and Prep
Remove the roast from the refrigerator 1 to 2 hours before cooking. A cold center takes significantly longer to reach the target temperature, which can cause the outer layers to overcook before the middle is ready.
Rub the entire surface lightly with neutral oil or softened unsalted butter. Preheat your oven to 225°F (107°C) and position the rack in the lower third of the oven.
Low and Slow in the Oven
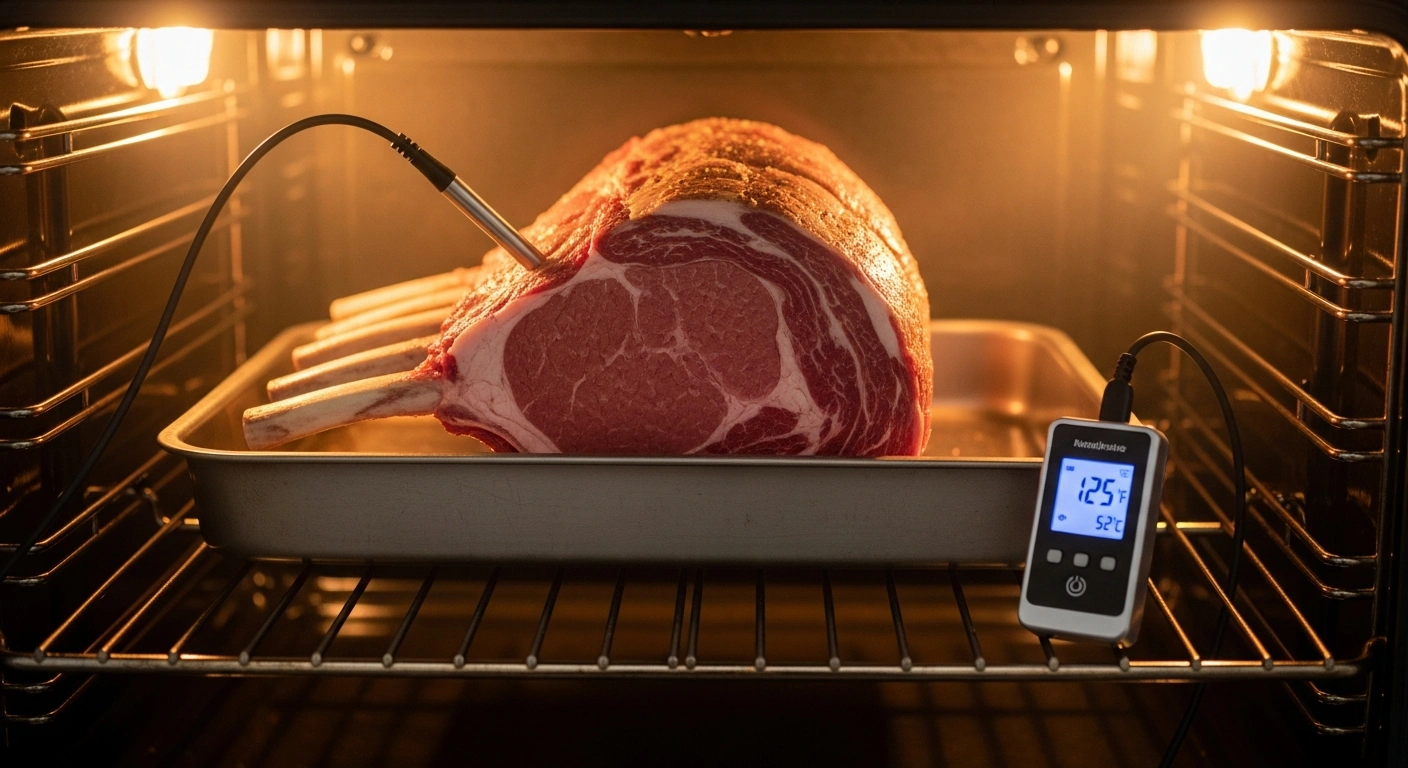
Place the roast bone-side down in a roasting pan — the bones act as a natural rack. Insert an oven-safe leave-in thermometer into the thickest part of the eye muscle, making sure it does not touch the bone.
Roast at 225°F until the internal temperature reads 118°F for medium rare. This typically takes 30 to 35 minutes per pound — a 3-rib roast of 7 to 8 pounds usually takes 3 to 4 hours.
For a reference on safe beef temperatures, see the USDA safe temperature chart.
Rest Before the Sear
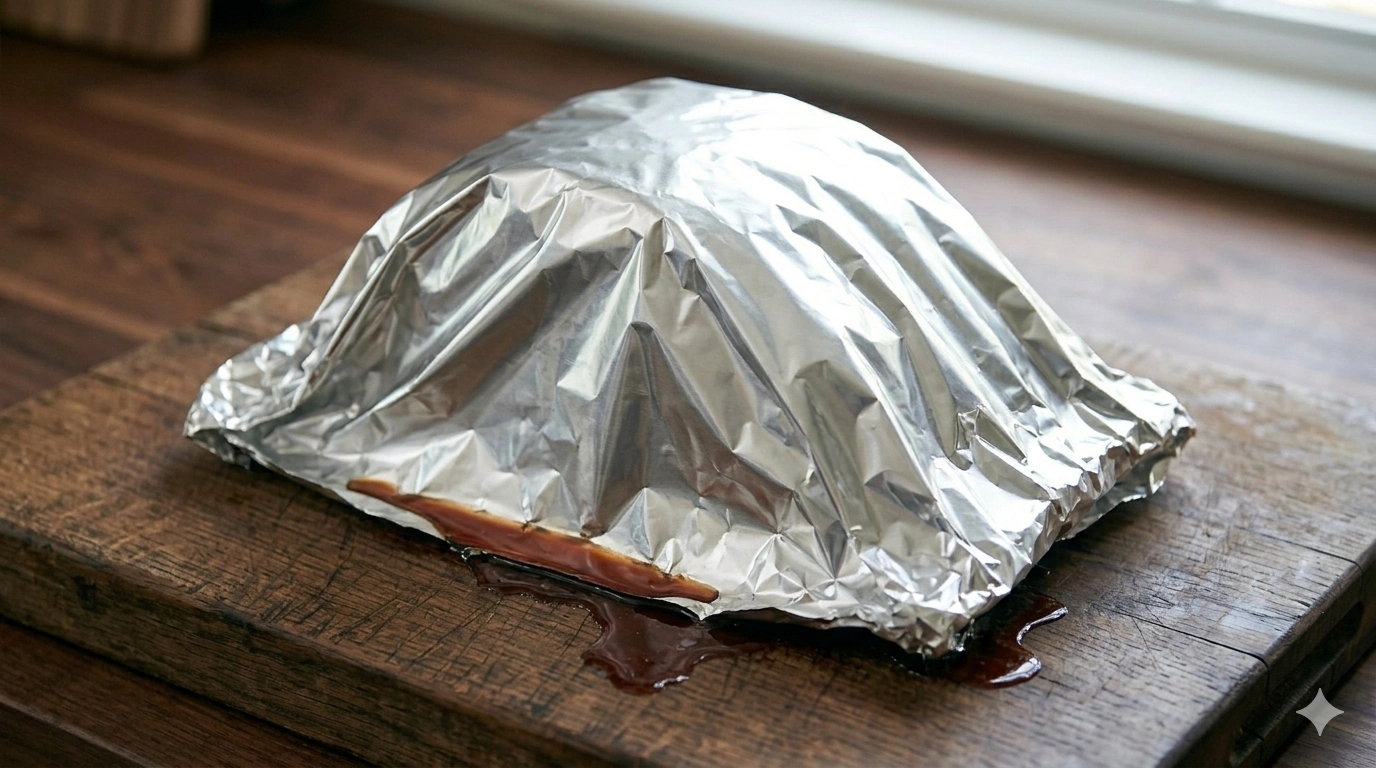
Remove the roast from the oven when it hits 118°F. Tent loosely with foil and rest at room temperature for 30 to 45 minutes. The internal temperature will rise a few degrees during this time.
Resting also allows the surface moisture to redistribute and partially dry — which is important for getting a proper crust during the sear. Do not skip this step.
While the roast rests, increase the oven temperature to 500°F (260°C) and let it fully preheat before the roast goes back in.
High Heat Sear and Slice
Once the oven has fully reached 500°F, return the roast uncovered for 10 to 15 minutes. Watch it closely — the goal is a deep mahogany crust, not burned edges.
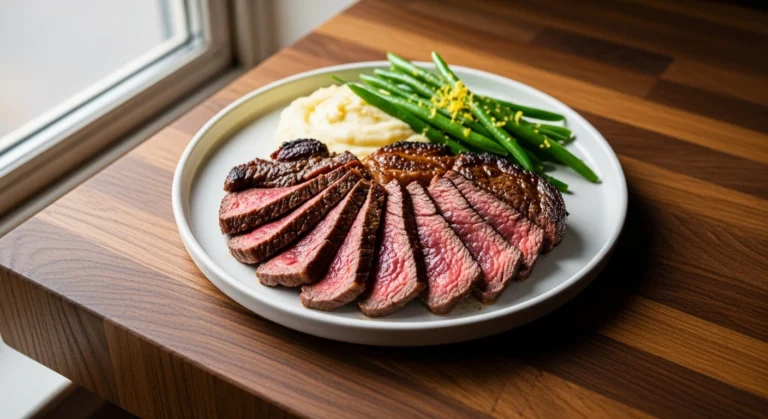
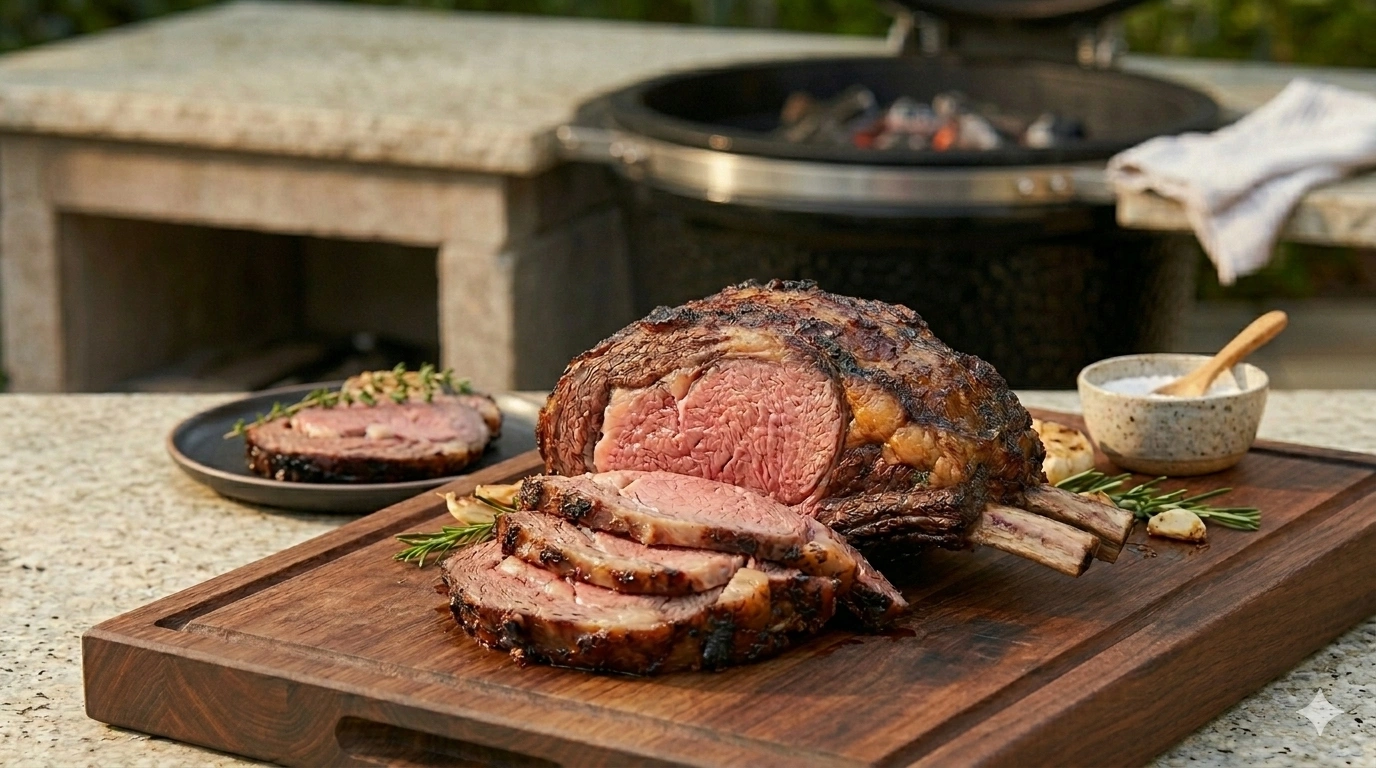
Remove from the oven and rest for another 10 minutes before carving. To slice, run a knife along the inside of the bones to separate them, then cut the eye muscle into thick slabs between the bones.
The interior should be an even rosy red from edge to edge — the hallmark of the reverse sear method done right. If you enjoy other grilled and roasted beef cuts, see our guide on skirt steak tacos for a different flavor profile from the same high-heat finish.
07 Expert Tips and Common Mistakes
Use a Leave-In Thermometer
Opening the oven repeatedly to check loses heat and extends cooking time. A leave-in probe eliminates guesswork.
Do Not Skip the Dry Brine
The 24-hour brine seasons the meat deeply and helps the surface dry for better browning. It makes a measurable difference.
Pull Earlier Than You Think
Carryover cooking and the sear will add 10 to 15 degrees. Pulling at 118°F is correct for medium rare.
Fully Preheat for the Sear
500°F needs time to stabilize. A half-preheated oven produces uneven browning and a disappointing crust.
Bone-Side Down Always
The bones protect the bottom of the roast and lift the meat off the pan. This helps the heat circulate more evenly.
Rest Before Slicing
The second rest after the sear — just 10 minutes — lets the juices settle before the knife goes in.
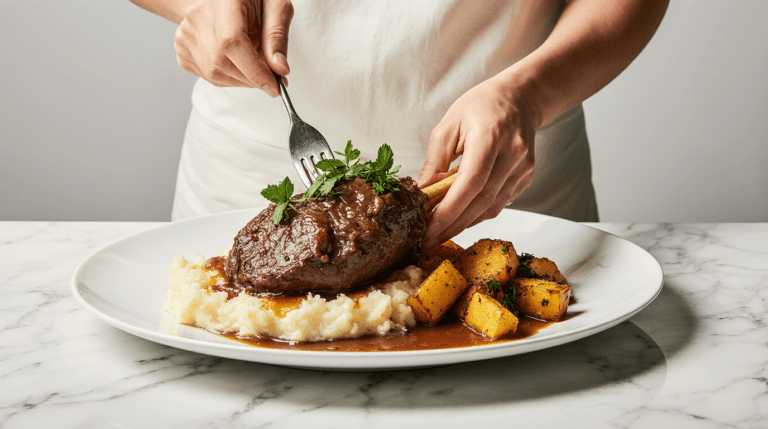
08 What to Serve With It, Plus Storage and Reheating
A dry aged standing rib roast is rich enough that it does not need complex sides. Simple, clean accompaniments let the beef stay the focus.
| Topic | What to Do | Why It Helps |
|---|---|---|
| Best Sides | Yorkshire pudding, roasted potatoes, creamed spinach, or horseradish cream | Classic pairings that complement without competing |
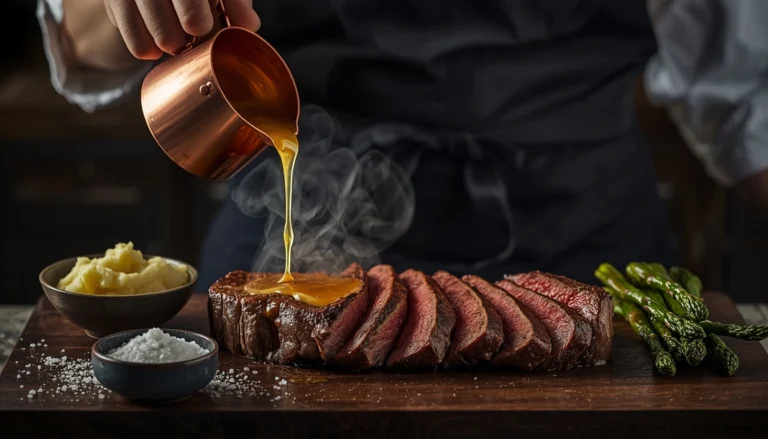
| Au Jus | Deglaze the roasting pan with beef stock and reduce | Uses the drippings and amplifies the beefy depth of the dish |
| Refrigeration | Store slices in an airtight container for up to 3 to 4 days | Keeps the meat moist and safe for next-day use |
| Reheating | Warm at 250°F covered with foil and a splash of stock | Gentle heat prevents overcooking sliced prime rib |
| Freezing | Wrap tightly and freeze for up to 2 months | Works best for slices that will be reheated in liquid or sauce |
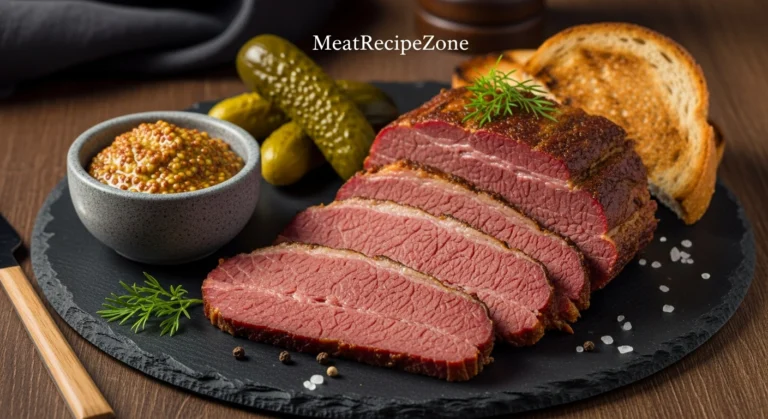
For safe leftover handling guidance, the USDA leftovers and food safety page is the most reliable official reference. If you are looking to use leftover beef in a different dish, our smoked corned beef guide covers a different style of large beef preparation worth exploring.
Meat Nutrition Calculator
Check calories, protein & fat for any meat cut — based on approximate USDA values.
Values are approximate and based on cooked weight per USDA data. For full nutrition data across all cuts, visit the complete Meat Nutrition Calculator on our homepage.
09 Frequently Asked Questions
Julia writes practical meat recipes and cooking guides for home cooks. Her approach focuses on clear instructions, realistic temperatures, and methods that make impressive cuts approachable without overcomplicating the process.