
St Louis Ribs In Oven Easy Baked Recipe
01 Short Answer: Best Way to Bake St Louis Ribs
The best way to cook St Louis Ribs In Oven is low and slow, wrapped in foil, followed by a final open bake to set the glaze. At 275°F, the foil traps steam that gently breaks down the collagen without drying out the meat. The result is tender, juicy ribs with a sticky caramelized crust — no smoker required.
Two steps make the biggest difference in this recipe. First, removing the membrane from the back of the rack before seasoning. Second, applying the BBQ sauce only in the final stage rather than early in the cook, which keeps it from burning and lets the dry rub do its job.
For pork doneness guidance, see our complete guide on internal temperature for pork. If you enjoy pork from the oven, the easy pork chop recipes collection is a natural next step.
02 At a Glance
Unlike steaks where exact temperature matters for doneness level, ribs are best judged by texture. The meat should pull back from the bone ends and the rack should bend easily when lifted with tongs.
03 What Are St Louis Style Ribs?
St Louis ribs are spare ribs that have been trimmed into a uniform rectangular shape by removing the sternum bone, cartilage, and flap of meat from the end. The result is a flatter, more even rack that cooks more consistently than untrimmed spare ribs and looks better on the plate.
Compared to baby back ribs, St Louis ribs are wider, meatier, and contain more fat. That fat content is exactly what makes them ideal for the oven — it renders slowly during a low cook and keeps the meat from drying out over the extended time needed for the collagen to break down.
Baby back ribs are smaller, leaner, and cook faster. St Louis ribs are larger, more forgiving, and more flavorful because of the higher fat content. For oven cooking, St Louis ribs are the better choice for beginners and experienced cooks alike.
A covered oven environment gives you the same moist heat as a smoker without the smoke, making it one of the most reliable methods for bbq ribs in the oven. The foil traps the steam from the rendering fat and keeps the temperature steady around the meat.
04 Dry Rub — Foundation of Flavor
The dry rub is the primary seasoning for this recipe. It builds the bark — the flavorful outer layer that develops during cooking — and provides most of the flavor the ribs will have before the BBQ sauce is added at the end.
▸ Core Ingredients in Good Rib Rub
- Brown sugar — adds sweetness and helps the bark caramelize
- Smoked paprika — gives color and a subtle smoky quality without a smoker
- Garlic powder and onion powder — baseline savory depth
- Salt and black pepper — the most important seasoning in any rub
- Cumin — earthy undertone that works well with pork
- Cayenne — optional, for a little heat at the back of the bite
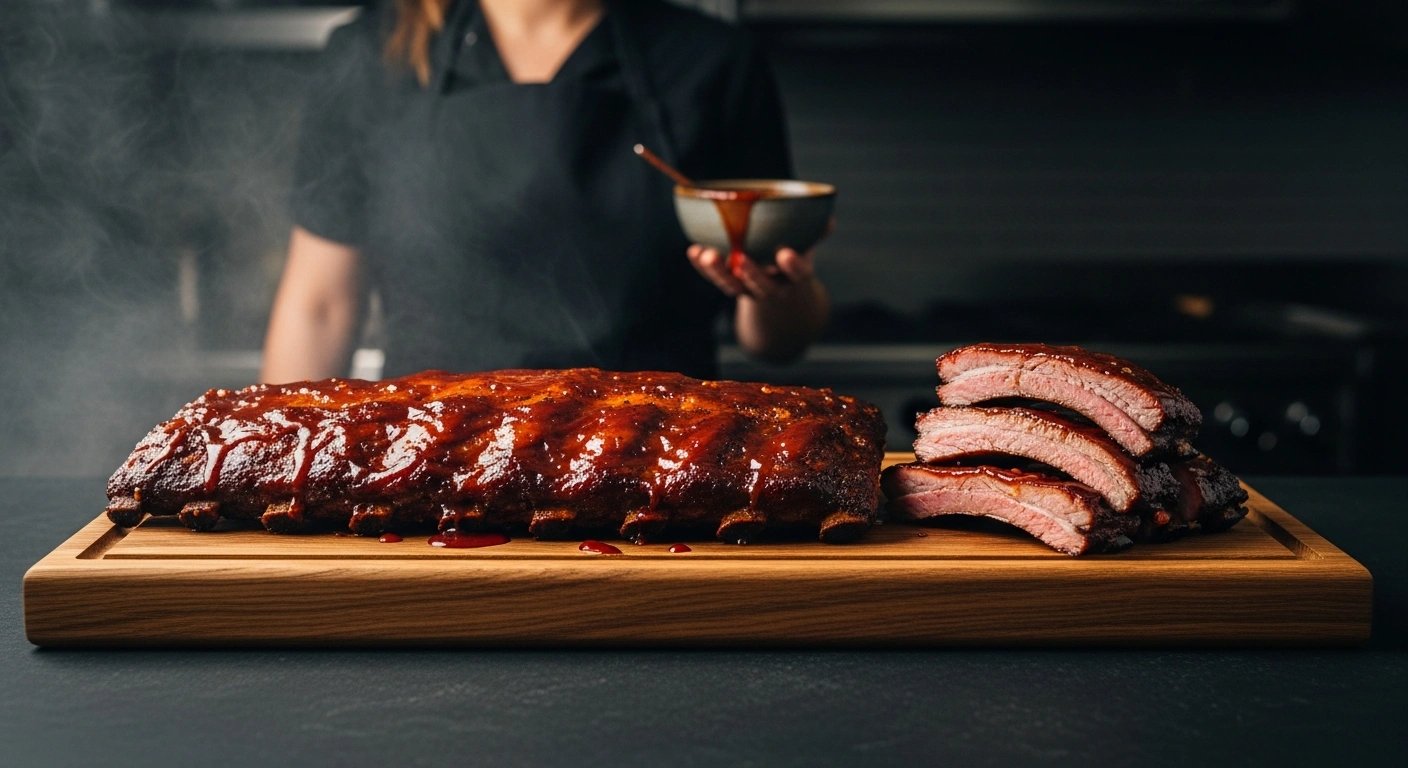
St Louis Ribs In Oven — Master Recipe
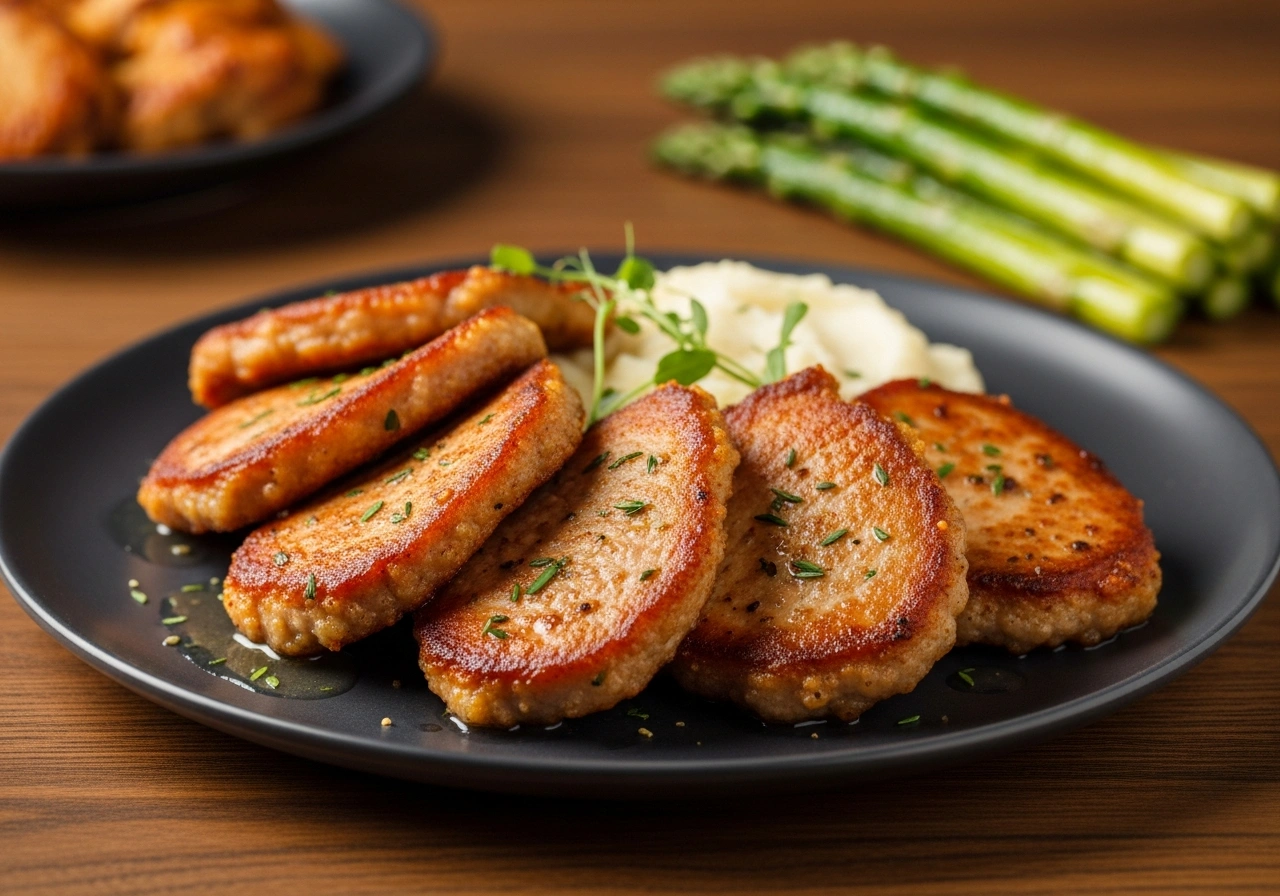
This is a straightforward oven ribs recipe that produces tender, fall-off-the-bone St Louis ribs with a sticky BBQ glaze. No special equipment needed — just foil, a baking sheet, and patience.
05 Ingredients
06 Step-by-Step Instructions
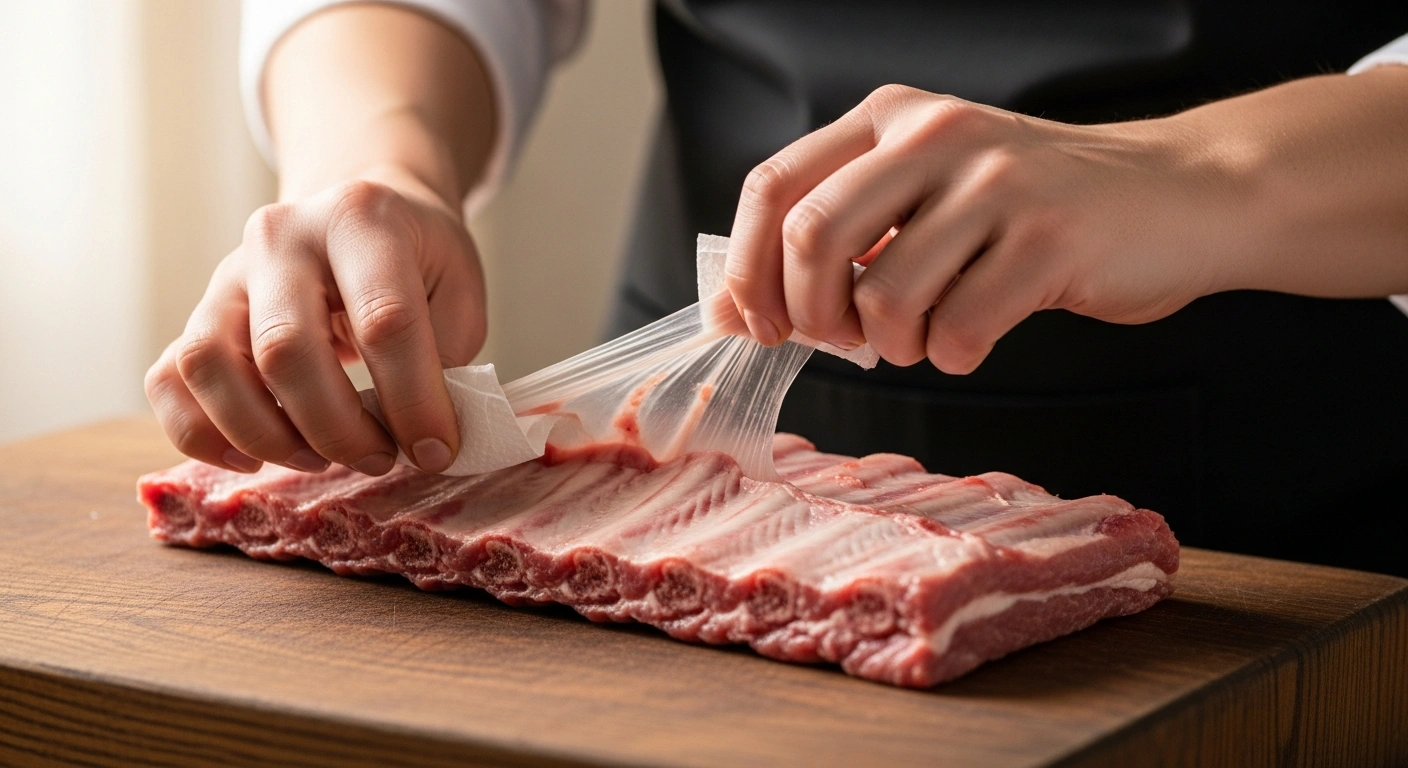
Prep and Remove the Membrane
Pat the ribs dry with paper towels. Flip them bone-side up and find the thin silver membrane stretched across the bones. Slide a butter knife or your finger under the membrane at one end, grab it firmly with a paper towel for grip, and pull it off in one steady motion.
This membrane is tough and chewy and does not soften during cooking. Removing it lets the dry rub reach the meat directly and dramatically improves the final texture.
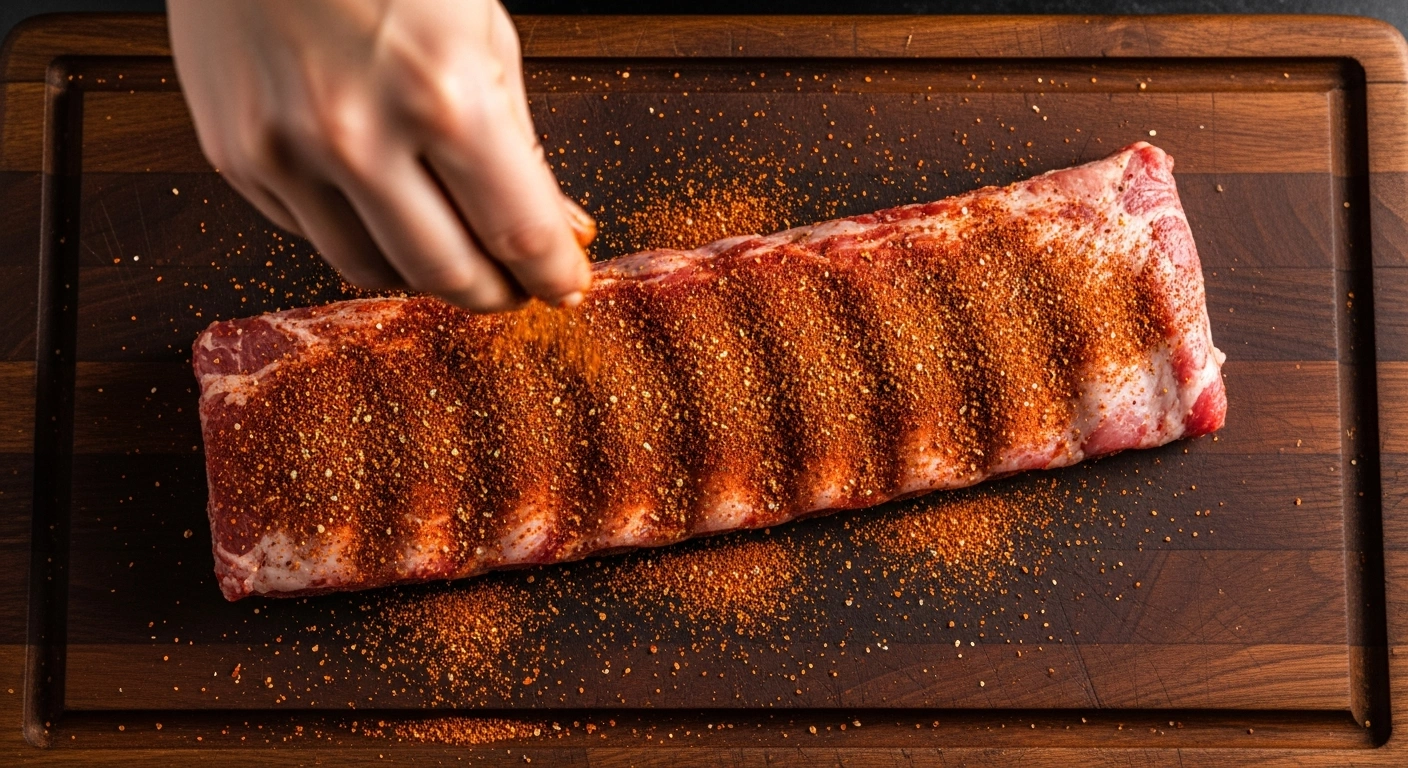
Apply the Dry Rub
Mix together the brown sugar, smoked paprika, garlic powder, onion powder, salt, pepper, cumin, and cayenne if using. Apply the rub generously over both sides of the rack, pressing it in firmly so it adheres to the surface.
If you have time, let the ribs sit with the rub on for at least 30 minutes at room temperature before baking. For deeper flavor, refrigerate overnight uncovered.
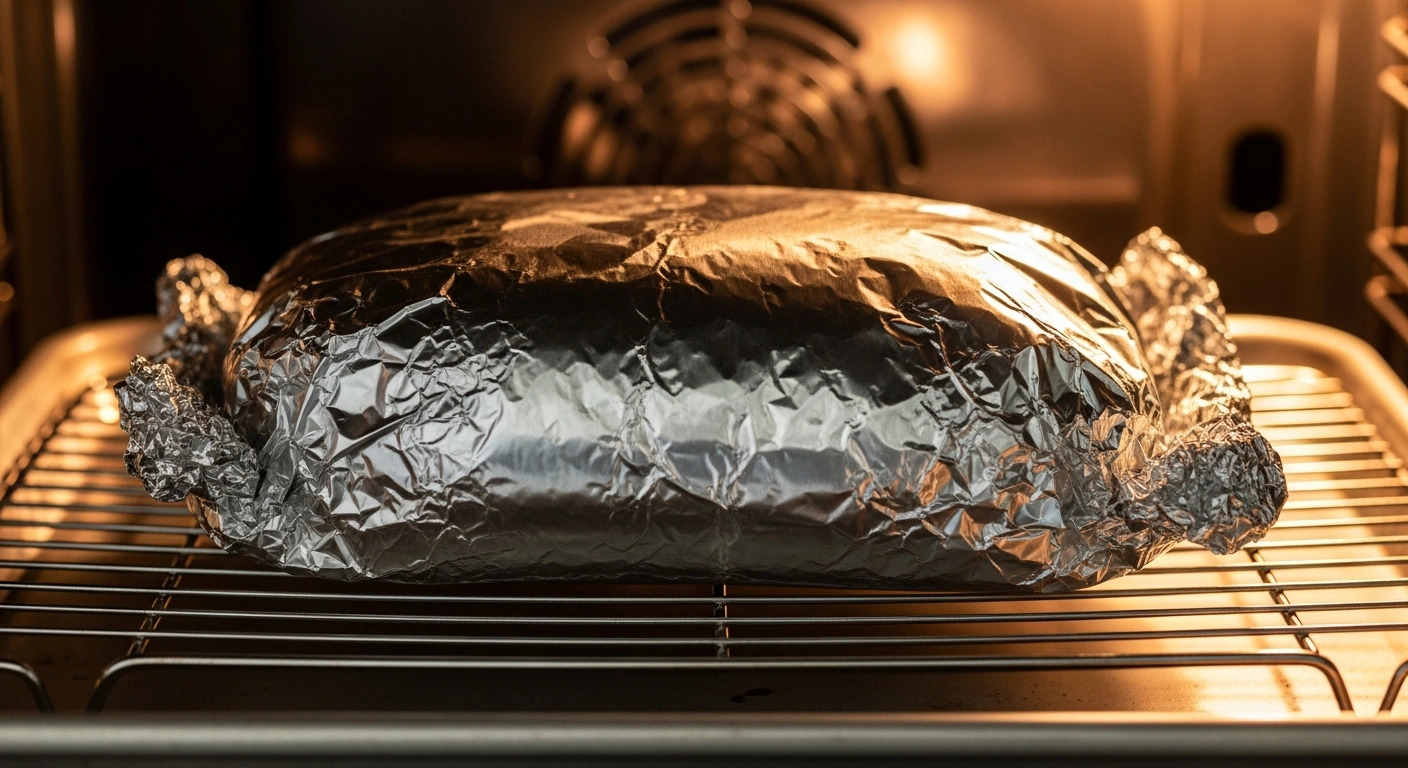
Wrap in Foil and Bake Low and Slow
Preheat your oven to 275°F (135°C). Place the rack meat-side up on a large sheet of heavy-duty foil. Wrap tightly so no steam can escape, then place on a rimmed baking sheet.
Bake for 2.5 to 3 hours. This is the stage where the collagen in the connective tissue breaks down and the fat renders slowly into the meat. Do not open the foil during this phase.
For guidance on how long ribs typically take in the oven, the meat and poultry roasting charts on FoodSafety.gov are a reliable reference for time and temperature guidance.
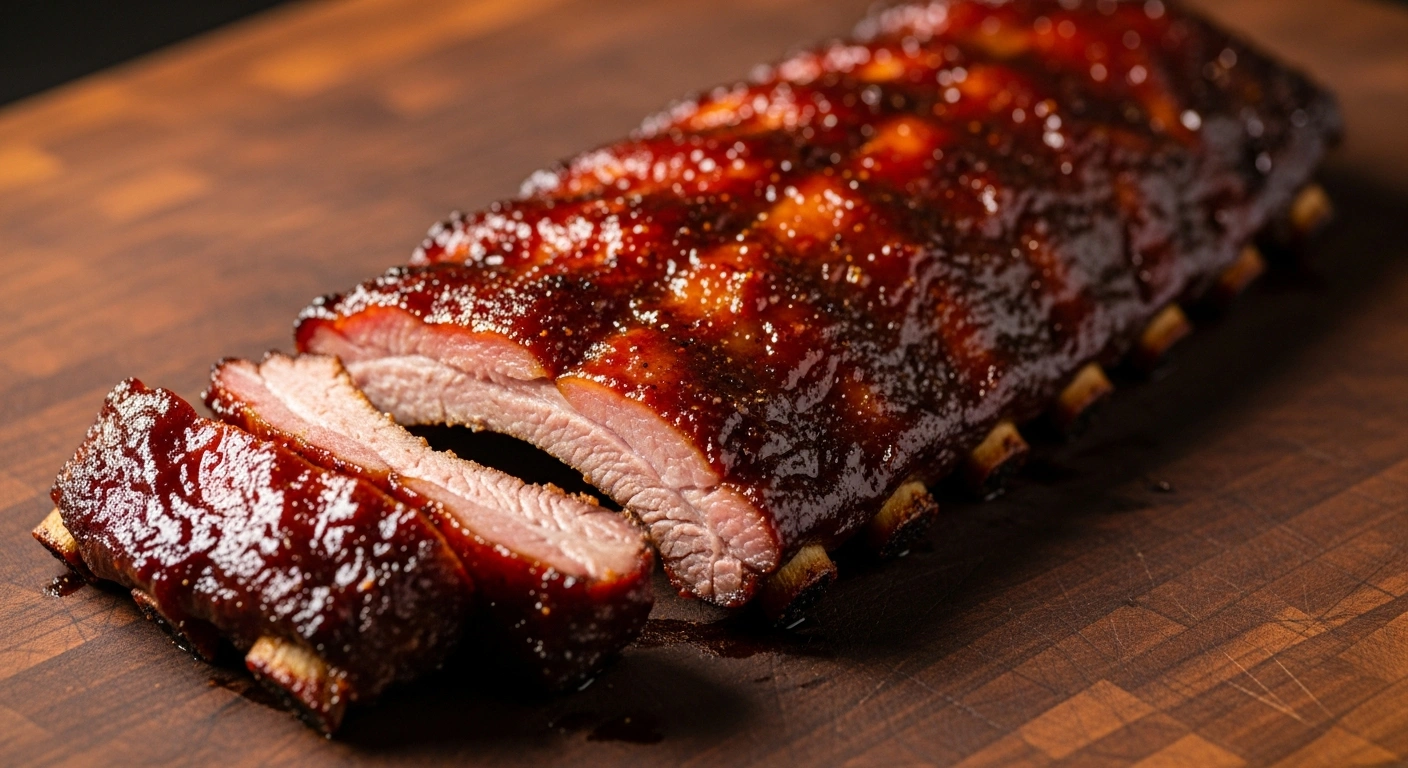
Unwrap and Baste with BBQ Sauce
After 2.5 to 3 hours, carefully open the foil — the steam inside is very hot. The meat should be noticeably pulled back from the bone ends and feel tender when pressed. Raise the oven temperature to 325°F (163°C).
Brush BBQ sauce generously over the top and sides of the rack. Leave the foil open or transfer the ribs to a fresh sheet pan. Return to the oven uncovered for 20 to 30 minutes until the sauce caramelizes and thickens on the surface.

Glaze, Rest, and Slice
For a stickier, slightly charred finish, switch the oven to broil on high for 3 to 4 minutes. Watch closely — the sugar in the sauce burns quickly at this stage. You want bubbling and light char at the edges, not burned black.
Rest the ribs for 10 minutes before slicing. Cut between the bones with a sharp knife. The meat should have pulled back clearly from the tips, and slicing should require almost no effort.
If you want to explore more ways to use leftover ribs, our leftover meat recipes page has practical ideas for repurposing cooked pork.
07 Expert Tips and Common Mistakes
Remove the Membrane
This is the single most impactful prep step. Skipping it results in chewy, tough ribs no matter how well everything else is done.
Stay at 275°F
Higher heat rushes the process and tightens the meat before the collagen breaks down. Low and slow is not optional with this cut.
Sauce at the End Only
Adding BBQ sauce too early causes the sugar to burn and go bitter. Always wait until the foil phase is complete.
Rest Before Slicing
Ten minutes of resting lets the juices redistribute and makes the ribs easier to slice cleanly between the bones.
Seal the Foil Tightly
Any gap in the foil lets steam escape and slows the cooking. Double-wrap if needed to keep everything sealed during the long oven phase.
Make It Ahead
The fully cooked ribs reheat very well. Bake ahead, refrigerate, then warm covered at 300°F and glaze fresh before serving.
08 What to Serve With It, Plus Storage and Reheating
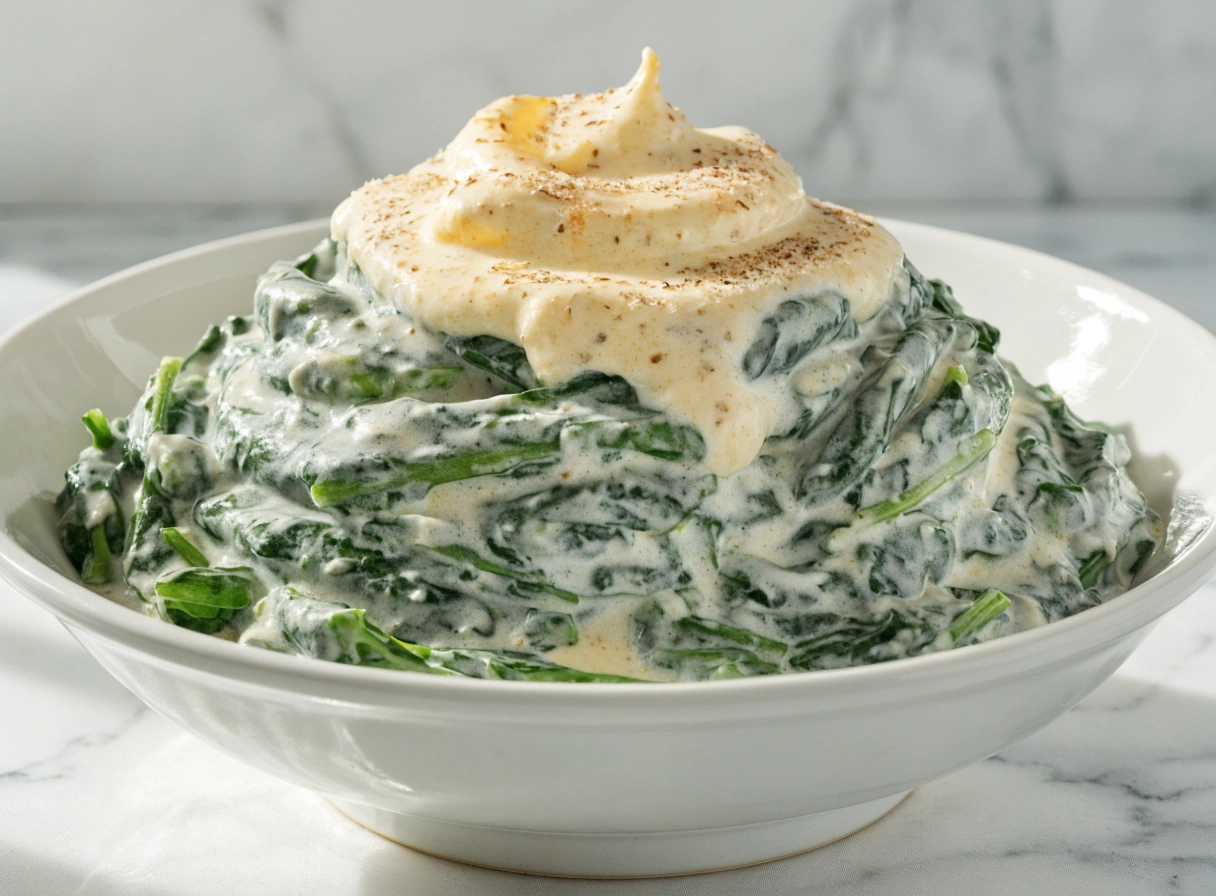
St Louis ribs are a substantial, sticky main dish. The best sides give contrast — either something cool and crisp, or something soft and starchy to balance the richness of the pork.
| Topic | What to Do | Why It Helps |
|---|---|---|
| Best Sides | Coleslaw, cornbread, baked beans, or roasted corn | Classic pairings that balance the richness of the pork |
| Dry Ribs Option | Skip the BBQ sauce and serve with a dipping sauce on the side | Lets the dry rub flavor shine without the sweetness of a glaze |
| Refrigeration | Wrap leftovers tightly and refrigerate for up to 3 to 4 days | Keeps the ribs moist for reheating |
| Reheating | Warm at 300°F covered with foil for 15 to 20 minutes | Gentle heat prevents drying out sliced ribs |
| Freezing | Freeze wrapped ribs for up to 2 months | Works well for fully cooked ribs reheated from frozen |
For safe leftover handling and refrigerator storage times, the USDA leftovers and food safety page is the most reliable official reference.
If you enjoy pork dishes with a similar comfort-food feel, the pork shoulder pellet grill guide shows how the same low-and-slow principle works on a different cut and a different cooking setup.
Meat Nutrition Calculator
Check calories, protein & fat for any meat cut — based on approximate USDA values.
Values are approximate and based on cooked weight per USDA data. For full nutrition data across all cuts, visit the complete Meat Nutrition Calculator on our homepage.
09 Frequently Asked Questions
Build the Rest of Your Rib Dinner
Finished these oven-baked St Louis ribs? These handpicked guides help you choose the right sides, try another pork dinner, understand pork cuts, and plan your next easy meat recipe.
Steak Sides That Also Work Beautifully With BBQ Ribs
Use these side-dish ideas when you want something crisp, creamy, buttery, or fresh to balance rich oven-baked ribs.
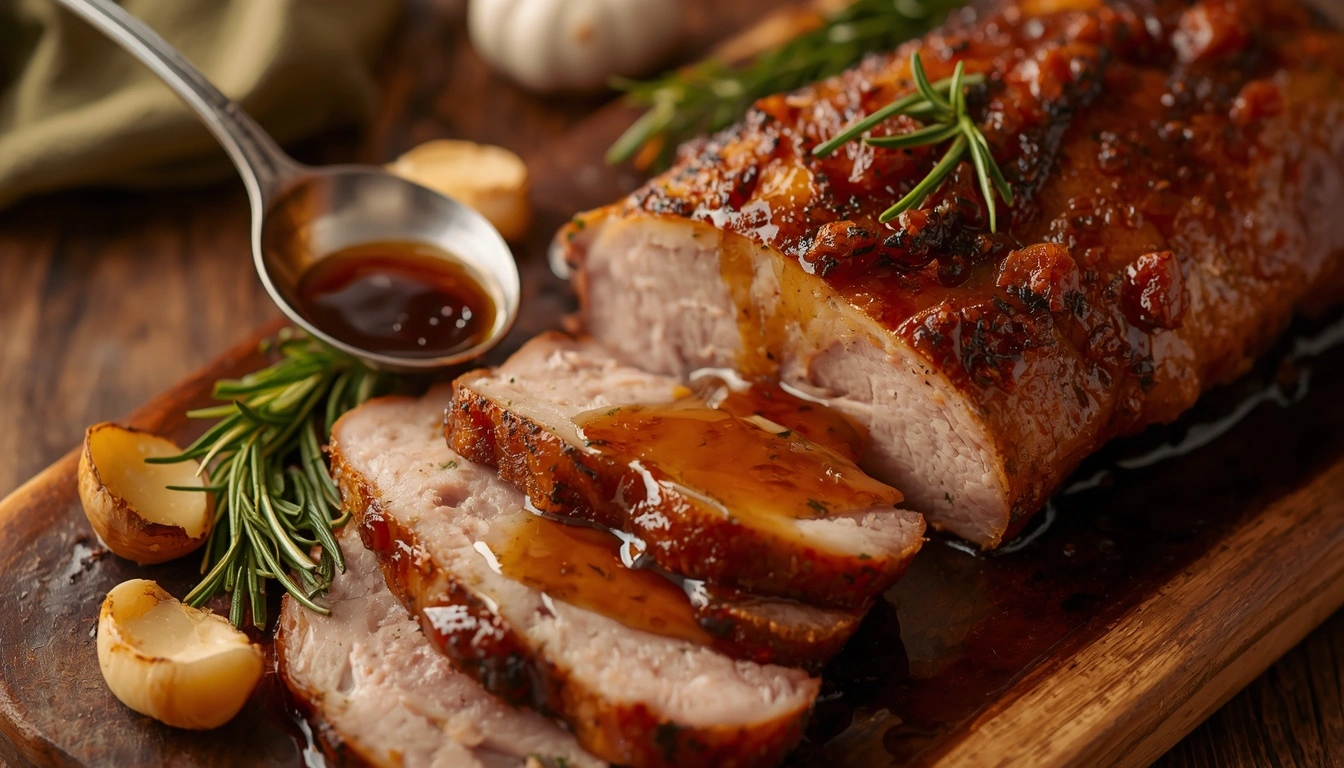
Pork Loin Roast Recipe
A reliable oven-roasted pork recipe for readers who want another satisfying main dish after ribs.
Pork Cutlets Explained
Understand the difference between pork chops, pork loin, and cutlets before choosing your next recipe.
Easy Pork Chop Recipes
Quick pork chop ideas for weeknights, family dinners, and simple meals after you master oven ribs.

Julia writes practical meat recipes and cooking guides for home cooks. Her approach focuses on clear methods, reliable timing, and results that work in a regular home kitchen without special equipment.